
Stamp Set Showcase Day Four
BY THE TIDE Stamp Set
Begin by trimming a piece of Island Indigo cardstock to qo.5 cms x 6cms. With the Shirt side at the top of your Metric Scoring Board, and score at 2 & 4cms. Next trim a piece of Whisper White cardstock to 10.5cms x 14.8cms.
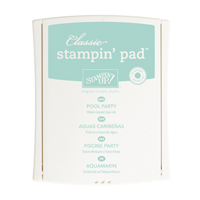
Use the wavy stamp from the Chalk Lines Phoyo-polymer stamp set, in Pool Party and Island Indigo ink. Quickly Spritz the stamped/inked images & leave to ery,

Once dry, over stamp the cardstock with the remaining stamps it he By The ide stamp set.

Attach the card front to the notepad, using Tombow glue, to glue the 'hinge' you scored above.
Sstamp the Island Indigo cardstock with the Hardwood stamp, using Soft Suede ink.
Leaving a wide border, use the 1 3/8" circle pinch, to punch a hole in the cardstock.
Using the 1 3/4" circle punch, centre over the hole stamped above, and punch out a circle. This will be used to make your 'Porthole'. Evenly apply the tiniest basic pearls evenly around the porthole. Punch a further circle in the 2 3/7" punch and stamp this with the seahorse image.
Attach the closest matching Shaker Frame to the circle just punched (seahorse stamp) , but do not remove the paper from the top section of the shaker frame just yet,
approximately/3 fill the shaker frame with glitter, sequins or beads.
Die Cut a 1 3/4 circle Window Sheet and apply tot he reverse side of your porthole, carefully remove the top tape from the shaker frame and stick the top and bottom sections of the shaker frame together.

Next cut a 1cm strip of Island Indigo cardstock, another from Whisper White cardstock that has been stamped with the Hardwood stamp in Coastal Cabana, and a third 1cm strip from Typeset DSP.. Cut banner ends to one end of all three of the 1cm strips. Lightly spritz with water, scrunch and leave to dry.
Adhere the strips to the top left corner of the notepad front using Sticky Strip..
Now stock the shaker frame to the top left of the notebook cover (on top of the 1cm strips). Attach some Linen Thread and a naturals button adjacent to the shaker frame.
Finish by stamping the sentiment of your choice and cut out using the Artisan punch. Cut two more Artisan Punches to make a frame for the sentiment. Attach to the middle right of the notepad using Stampin Dimensionals. And you have finished the project ... pat yourself on the back.
Happy Stamping
Kim xxx
Contact Us if you would like to enquire about our Bespoke Handmade Card/Gift Box Service:
Phone: 08432896848
Text: 07759587004
 |  |  |  |  |
 |  |  | |  |
 |  |  |  |  |
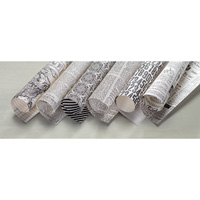 | 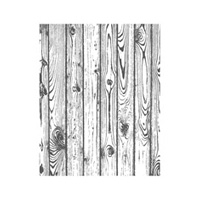 |  |  | 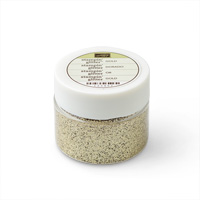 |
Table built using Product Table Builder by The Crafty Owl - Independent Stampin' Up! Demonstrator.
OR ORDER ONLINE 34/7


No comments:
Post a Comment