Welcome back for day 2 of this weeks Stamp Set Showcase featuring
GOOD GREETINGS stamp set
And today will again be about brayering, stamping and the use of a bit of bubble wrap .... yes, you read that correctly, Bubble Wrap ...
I was so delighted to get my first delivery of Christmas goodies, and I have fallen head over heels in love with ENDLESS WISHES stamp set which will be used to overstamp your brayered background.
So we start with a 6" Whisper White card blank, by trimming a piece of Whisper White cardstock to 15cms x 30cms; score the long side at 15cms; fold the score line and burnish the fold with your bone folder.
Now randomly stamp the outside edges of the card blank front with snowflake stamps in Endelss Wishes stamp set using Encore Metalic Silver ink.
Next trim another piece of Whisper White cardstock to 12cms x 12cms
& another piece of Whisper White cardstock to 3cms x 12cms
You are going to brayer both of the above pieces of cardstock
with the following Classic Ink Pads
Bermuda Bay
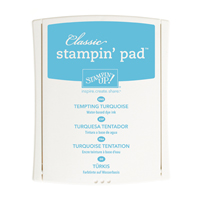
Tempting Turquoise
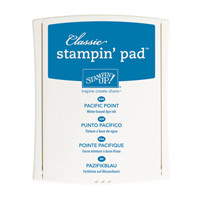
Pacific Point
Begin with the lightest colour working to the darkest. You are looking for an ombre effect (graduated colour from dark to light) and you want the colour to be only just noticeable at the lightest end.
TIP: to get a an even brayered background; i.e. you don't want splodgy areas or lines on the cardstock (unless by design of course); ink up your brayer from the ink pad so it is well and evenly covered, but you need to roll off some colour onto scrap paper or grid paper (from Stampin Up). Then start from one end and use a light hand when rolling the brayer over the cardstock. If you press too hard, you will get lines and a patchy finish.
Now to add a little more to the backgrounds. On the 12cms x 12cms piece of cardstock, you are going to get a small amount of bubble wrap, make it into a loose ball, dip it in the Pacific Point ink pad and stamp onto the cardstock
Now you need to over stamp this with the Endless Wishes stamp set using Encore Metalic Silver ink pad.
Now for that little 3cms x 12cms strip ... you are going to need the Dots & Stripes Mask, White Craft Ink and a finger dauber and add white dots to the panel.
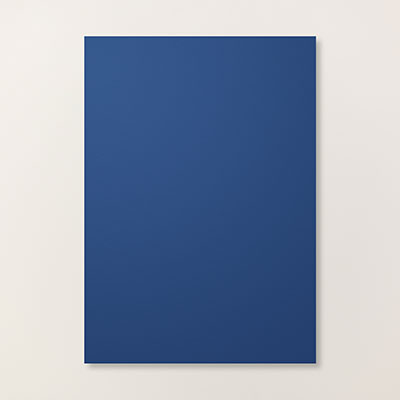
You then need to mat (layer) these two panels onto Night of Navy Cardstock measuring:
12.5cms x 12.5cms
&
3.5cms x12cms repectively.
Apply Stampin Dimensionals on the reverse of both panels. Layer the smaller panel onto the larger panel, then mount onto the card blank.
Add a few Basic Rhinestones
If you would like to ask any questions on techniques or products, or anything else related to my blog posts, please feel free to ask away
Happy Stamping
Kim xxx
Contact me to order:
Telephone/Txt: 07759587004
Email: kim@stampinupatthewarren.com
Or Order Online 24/7
Or Click on the image of the products used below and it will take you straight to my online store
Table built using Product Table Builder by The Crafty Owl - Independent Stampin' Up! Demonstrator.


No comments:
Post a Comment