Hello all to the start of a new Stamp Set Showcase
And this week will see the first of my autumnal and Christmas creations
I LOVE Winter, and I LOVE Christmas.
The onset of Autumn means short days, nights snuggled up around our wood burning stove, soups, stews and hot chocolate with the odd tot of Baily's
It also means Family
It takes my hubby 3 weeks to dress the house with lots of natural Christmas decorations, the Christmas Tree and Family chatting, playing daft games and getting a teeny bit tipsy
I also love snuggling up under my handmade PAtchwork Quilt with just my very cold nose peeking out of the bed. I love the weight of the quilt, and of course I love wearing my Uggs - an essential for me as I have no feeling in my legs/feet in warm weather, so it is hopeless in the colder weather ... but the Uggs and thermal socks help. In explanation, I had a spinal injury in 2005 leaving me having to learn to walk about a bit, but mostly as a wheelchair user.
But I love life, and feel blessed to live where I do, with my hubby (my soulmate & best friend)
Life is too short to dwell on what we have lost!
But now I have waffled on too long, and I am sure you just want to get started with this weeks showcase.
Thiss week I am featuring a fab sentiment stamp set that could be yours if you host a Workshop
I have fallen in love with it. The stamps look like hand written sentiments and there are SO many stamps in the set, and not all are seasonal. A good all rounder and an essential as far as I am concerned.
So here we go with ... Oh, but before we do .... just to let you know there is quite a bit of brayering this week!
GOOD GREETINGS
Begin by making your c6" square card blank by trimming a piece of Whisper White cardstock to 15cms x 30cms.
Score the long side at 15cms, fold along the score line and burnish with your bone folder.
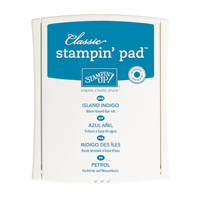
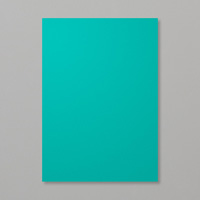
Trim a piece of Island Indigo cardstock to 14cms x 14cms
You are going to use White Kraft ink to randomly stamp the Island Indigo cardstock with stamps from the BRIGHT & BEAUTIFUL stamp set. Kraft ink takes longer to dry, so put this panel to one side
Trim a piece of Whisper White cardstock to 12cms x 12cms
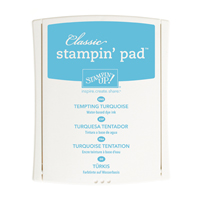
Get your Brayer out and Coastal Cabana ink and load up your brayer. ink off a little of the ink on a scrap piece of cardstock or grid paper Start at the top of the cardstock and using light backward & forward motions with the roller, slowly ink the cardstock, having the colour more intense at the top, tailing off to barely any colour. Repeat this process with Tempting Turquoise ink, but do not go down at far with the brayering
Trim another piece of Whisper White cardstock to 9cms x 9cms
You are going to brayer this panel too ... first with Coastal Cabana ink, and then with Bermuda Bay inks.
Next you are going to get out your Hearts & Stars mask, and using a finger dauber and white craft ink, stencil the starts over both of the smaller pieces of brayered cardstock. Leave them to dry.
Once dry, you can mount the smallest brayered panel onto a piece of Bermuda Bay cardstock measuring 9.5cms x 9.5cms
Then mount the 12cm square brayered panel onto a piece if Tempting turquoise cardstock measuring 12.5cms x 12.5cms.
Mount Stampin Dimensionals on the back of each layer, and mount asymetrically onto the card blank using your choice of Adhesive (I prefer teeny amounts of Tombow MP Glue).
On a scrap of Breyered cardstock, stamp your choice of sentiment in Island Indigo ink. Trim to a rectangle to fit across the middle of the 9cm square panel.
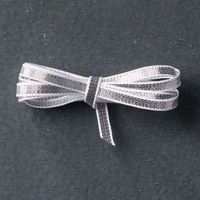
Thread through some 3/8" Silver Ribbon and tie a bow. Add a few basic Rhinestones and the card is completed.
If you would like
to ask any questions on techniques or products, or anything else related to my
blog posts, please feel free to ask away
Happy Stamping
Kim xxx
Contact me to
order:
Telephone/Txt:
07759587004
Email: stampinupatthewarren@hotmail.co.uk
Or Order
Online 24/7
Or Click on the
image of the products used below and it will take you straight to my online
store
Table built using Product Table Builder by The Crafty Owl - Independent Stampin' Up! Demonstrator.








No comments:
Post a Comment