VISIONS OF SANTA
DAY 5
Today is another of Stampin Up's fold flat Kraft Boxes
This time it is the turn of the Decorative Window Gift Boxes that come in packs of 6
& great value for money
I love them because of the acetate window surrounded by a white decorative scallop pattern
Today's project is one of my Hostess gifts containing some left over Sale a Bration thick bakers twine
And I have taken my inspiration for decorating the box from the box itself.
I used Whisper White Kraft ink with the snowflake stamp in the Visions of Santa stamp set. I randomly stamped all the outside and lid (but not the window sheet) with the snowflakes.
Give this plenty of time to dry before handling it as Kraft ink takes longer to dry and we are not going for the smudged, distressed look here hehe.
Once dry, assemble your box (full instructions come with each pack), fill with goodies and put to one side.
You can also decorate these boxes and keep them flat packed until you are ready to use them, the choice is yours.
Now lets turn our attention to the dancing santa tag. start with the layered tags,
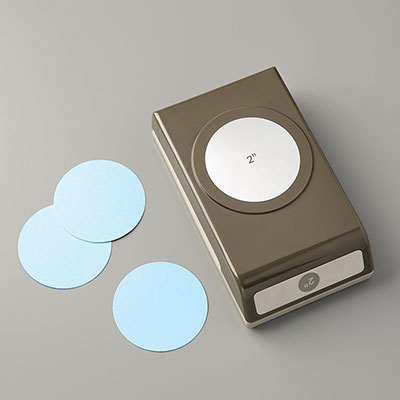
Punch 2 2" (5.1cm) circles in Old Olive cardstock and dry emboss using the Perfect Polkadots Textured Impressions Embossing Folder (TIEF).
Before you colour your Santa, here are a few tips.
The best cardstock for using Blendabilities, is Whisper White
Always use Memento Ink (black) to stamp the image to avoid bleeding outside of the stamped image.
You cannot use Stazon ink as it is alcohol based, as are the blendabilities pens, and will cause bleeding of the ink.
You will find that the blendabilities saturate the cardstock and bleed through to the back of the cardstock, so never use blendabilities straight onto your card blank.
Blendabilities come in packs of three (except the skintone assortment which is larger). Each pack has a light, medium and dark shade/tone of at least one current stampin up colour (i.e. cardstock, ink pads, re-inkers, DSP etc).
I always start with the lightest shade of blendability assortment, working up to the darkest.
Let the ink dry a little (but not completely) between changing pens.
Blend the colours together on the finished image by using the brush tip to give another coat of the colour using the lightest pen in the assortment. I find this gives the best blended effect.
Once you have coloured your Santa, punch him out ith the 2" punch and layer onto the 2 green, dry embossed tags using Stampin Dimensionals to create depth between each layer. Punch a hole and thread with Cherry Cobbler Bakers Twine.
Tie a piece of Whisper White Seam Binding Ribbon around the box and finish with a bow. Tie the bakers twine around the bow and tie a knot. And there you have it!
See you tomorrow
But if you have
any questions on techniques, orders, products etc., please ask away by adding
comments below, or you can contact me via:-
Email: kim@stampinupatthewarren.com
Telephone/Text:07759587004
OR
Order Online
24/7 @ http://www.stampinupatthewarren.stampinup.net
Alternatively, you can click on the images of the products used today (see below) and it will take you straight to my online store.
Get creative
Happy Stampin, Kim xxx
Alternatively, you can click on the images of the products used today (see below) and it will take you straight to my online store.
Table built using Product Table Builder by The Crafty Owl - Independent Stampin' Up! Demonstrator.
Get creative
Happy Stampin, Kim xxx


No comments:
Post a Comment