
I hope you will like todays card
as I really enjoyed making it.
using, of course
FESTIVAL OF TREES stamp set
coupled with the Holiday Home stamp set
And todays techniques include masking and sponging with some stamping thrown in

Begin by making your card blank by trimming a piece of Whisper White cardstock to 14cms x 14cms
Score the long side at 15 cms (6"), fold the score line and burnish with your bone folder., put to one side or risk getting blue in all over it!!
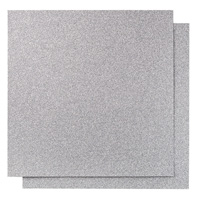
Next trim a piece of Silver Glimmer paper to 14,5 x 14.5cms
Trim a piece of Whisper White cardstock to 14cms x 14cms
Next you need a Pp
Post It Note and the 1 1/4" Circle Punch.
Punch out a circle from the Post It Note ensuring you punch over the adhesive strip, since this is how you are going to adhere your mask to the cardstock.
Choose where you want the moon to be, and pop your maks there.
Next is you need to stamp your Holiday Home at the top left of the cardstock to create depth using Black Memento Ink.
Now to create the mask that will produce your snow drifts. From a scrap of cardstock, cut some curves ... you will be able to use both the positive and negative curves you create.
Get a piece of Stampin Sponge and your Pool Party ink Pad. Get the sponge inked up well and using a gentle circular motion, starting on the scrap of cardstock and moving slightly onto the main cardstock, create your first snow drift at the base of the house.
Move the mask to a different angle and repeat. Keep repeating over the cardstock using both the negative and positive curves you cut from the cardstock. Also sponge around the moon mask.
Once you are happy with your drifts, you are ready to stamp your Trees using Smokey Slate ink, stamping them so they appear to be standing in the drifts.
You are now going to create the night sky
Next ink up your sponge with Night of Navy ink
Go around the moon mask and over the sky, adding layers of colour so there are lighter and darker areas. Kightly sponge over the drifts and around the house with the residual ink on your sponge.#Rmove the moon mask and use a stippling motion with the sponge to add some shadow on the moon.

Now for the finishing touches
Stamp your sentiment at the bottom left of the stamped cardstock
Next stamp the garlands around the trees using Silver Memento ink
Layer the stamped cardstock onto the Silver Glimmer Paper you trimmed earlier
Wrap around some Whisper White 5/8" Organza Ribbon & Tie a bow.
Finally WASH YOUR HANDS and put away the ink pads and inks before mounting the card topper onto your card blank
And please do not hold me responsible for your inky fingers that may last a couple of days he he Cheap gel hand sanitiser is the best thing for getting this off

If you would like
to ask any questions on techniques or products, or anything else related to my
blog posts, please feel free to ask away
Happy Stamping
Kim xxx
Contact me to
order:
Telephone/Txt:
07759587004
Email: kim@stampinupatthewarren.com
Or Order
Online 24/7
Or Click on the
image of the products used below and it will take you straight to my online
store
 |  |  |  |  |
 |  |  |  |  |
 |  |  |  |  |
 | 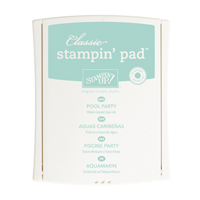 |  |
Table built using Product Table Builder by The Crafty Owl - Independent Stampin' Up! Demonstrator.


No comments:
Post a Comment