
Winter is well and truly on it's way!
We have our wood burning Stove lit for the first time since Spring today
My feet are snug in my Uggs and my fleece throw has come out to keep me warm
No I am not an especially cold morsel, but having had a spinal injury, getting cold can be quite worrying as the sensation and body regulatory systems don't work properly so in the height of Summer, my feet can be blue! Pretty! I hear you say he he
Anyway, todays card is a bit of thinking outside the box and using a tree stamp to create a background from the scroll tree stamp in the
FESTIVAL OF TREES STAMP SET
What do you think? Pretty huh?
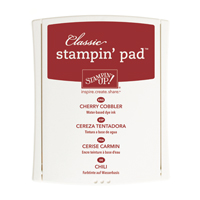
The photo's don't show the colours off very well, but the sponging is in a combination of Rose Red and Cherry Cobbler inks
And here is the Tutorial
I hope you enjoy making your own version. If you would like to share your card makes on my Cardcraft & Scrapbooking Pinterest Community Page, just send your email address to me and I will add you on
It is always good to Inspire, Create, Share
Email: kim@stampinupatthewarren.com
Before I get to the card, I ,ust share with you the breaking news on the Seasonal Supplement with additional Christmas goodies from stamps to simply created kits
There is sure to be an extra little something foe everyone ... so go take a peek by

Okay, enough said, now lets get this card made shall we?

Begin by making your card blank by trimming a piece of Whisper White cardstock to 15cms (6") x 30 cms (12"). Score the long side at 15cms (6"), fold along the score line and burnish with your bone folder. Place to one side so the card blank does not become contaminated with ink.
Trum a piece of Cherry Cobbler cardstock to 12.5cms (5") x 12.5cms (5")
Place this to one side too.

Trim a another piece of Whisper White cardstock to 12cms x 12cms
Now take that beautiful scrolled tree stamp from the Festival of Trees Stamp Set. Ink it up with Versarmark ink pad and start randomly stamping the tree stamp over the cardstock (including upside down).
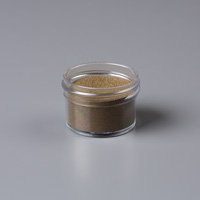
Once you are happy with your stamping, sprinkle Gold Embossing Powder over the cardstock, lift the cardstock and give one sharp flick to the back of the cardstock to remove any excess embossing powder. Now turn on your heat tool but do not be tempted to waggle it around, simply work on a tiny area until just melted and then move to the immediately adjacent area and work your way around the hold sheet of stamped cardstock.
Next you need to get out your Stampin Sponges and cut the sponge into 6 - 8 pieces. Ink uo i=one piece with Rose Red ink and randomly apply patches of colour using a circular motion using Rose Red ink. Thrn repeat with Cherry Cobbler ink, but also sponge over the Rose Red areas to create a third colour where the colours blend together,
Get a piece of kitched towel and gently buff the heat embossed areas to remove any excess ink
Mount the embossed panel onto the piece of Cherry Cobbler cardstock you trimmed to size earlier
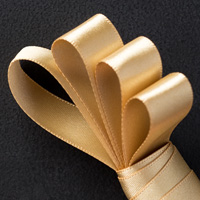
Wrap around a piece of Gold 5/8" Satin Ribbon and tie a bow (best done using the bunny ears method)
Stamp your sentiment in Cherry Cobbler ink to the bottom right of your card blank. Mount the panels onto your card blank once the ink has dried (fromt he sentiment stamp)
 I
I
f you would like
to ask any questions on techniques or products, or anything else related to my
blog posts, et Et Voila
please feel free to ask away
Happy Stamping
Kim xxx
Contact me to
order:
Telephone/Txt:
07759587004
Email: kim@stampinupatthewarren.com
Or Order
Online 24/7
Or Click on the
image of the products used below and it will take you straight to my online
store
 |  |  |  |  |
 |  |  |  |  |
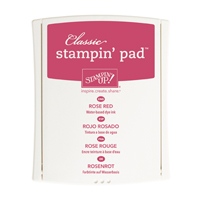 |  |  |  |  |
Table built using Product Table Builder by The Crafty Owl - Independent Stampin' Up! Demonstrator.


No comments:
Post a Comment