
Here we are then
The Final Day of the
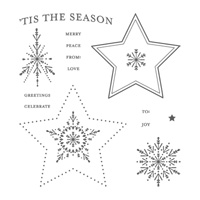
FESTIVAL OF TREES STAMP SET
And I hope you are really going to love today's make.
A LIDDED STAR GIFT BOX
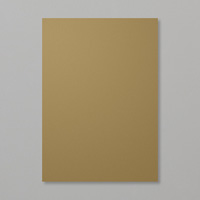
If you have taken a fancy to the Photo-polymer Stamp Set in the Seasonal Supplement, then replace the Glimmer Cardstock with Kraft Cardstock and use either
the Many Merry Stars Stamp Set (in the Supplement)
or
the Bright & Beautiful Stamp Set (in the seasonal catty)
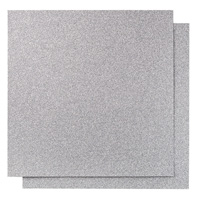
But I am using Glimmer Cardstock with luxurious ribbons
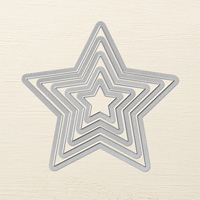
I am using the largest star framelit in the Stars Framelits Collection as they co-ordinate with both of the above mentioned stamp sets.
I have lots of photo's for you to try and give you the best images to visualise the building of the box as possible. I WILL get around to videoing Tutorials such as this at some point, but need my hubbies assistance to do that!

The basic parts of this box are:
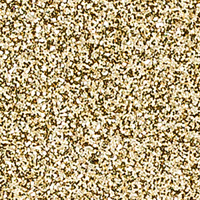
2 x largest Stars (die cut using the Star Framelits) 1 in Soft Suede and 1 in Gold Glimmer Cardstock
x2 pieces of Soft Suede cardstock measuring 8cms x 24cms
x2 pieces of Soft Suede cardstock measuring 2.5cms x 24cms
Next you will need your Scoring Tool with the Metric Scoring Plate. all of the long strips of cardstock are scored the same:
Long side at the top of the board
Score at 4cms, 8cms, 12cms, 16cms & 20cms
Rotate, and with the short side at the top, score at 1cm
Now normally, in box making' the lit would be a few millimeters larger than the box. However, I found that with the star boxes, because the box base is quite flexible, the two boxes work best if made to exactly the same size as each other - just different depths.
Take the 2 wider pieces of cardstock (will become the box), you will need to trim away the small tab at each end of ONE of these pieces of cardstock. Overlap the trimmed tab under the first tab of the piece of cardstock where you didn't remove the tabs, use a little Tombow Multipurpose Glue to do this as it gives you a coupe of seconds for positioning.
Make Sure the Score Lines match up!
Fold all the score lines, and then snip the corners off each tab.
Now make the cardstock into a cylinder by overlapping the last two tags using Tombow MP Glue.
Roughly Mold the shape into a star.(see the photo below)
Repeat the above process with the narrow strips (the lid)

Baby wipes at the ready to de-gunk your fingers as you work!
Now you need to glue the lid to the sides.
I found it easier to use a little Tombow MP Glue, working on a pair of tabs at a time. It is fiddly, but worth taking the time to do this nicely. To get a good seal, turn upside down and apply pressure to the point you are gluing from inside the box.
As you work around the box, you will find it easier to lift the lid/base immediately next to the tab you glued last, and apply glue to the next pair of tabs. You only need a little glue otherwise you will end up with nasty black blemishes on the outside of the box.

Repeat the process for the lid.
If there are any edges that don't white meet the lid, just snip them off with your Craft Scissors.
I found I didn't get into a good flow with these until my third box, so if you have any old/scrap cardstock, make a couple using that first.

You can use Stampin Up's Filter Papers to line your lid and base to hide all the tabs, ad I also scrunched up the bits left over from die cutting the filter paper stars and put that in the base to cushion any goodies that go in there.

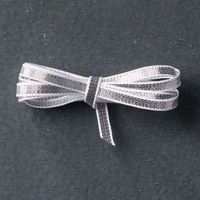
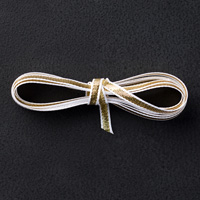
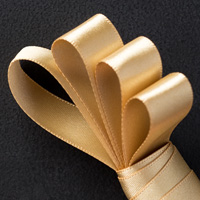
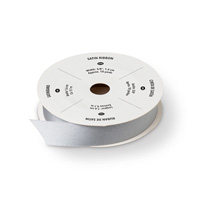
I used a selection of Stampin Up's luxurious Ribbons to tie around the boxes, finishing with pretty bows. You could also use the Gift Bow BigzXL Die to make the bows

I embellished some of the boxes using the Watercolour Wonder Washi Tapes

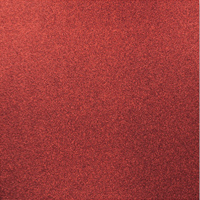
I used different Colour Glimmer Cardstock

And Stamped out Tags using sentiment from the Festival of Trees stamp set plus a variety of Punches

I layered each of the tags for that professional chic finish

And attached the tags to the boxes by punching holes in the tags and used either Bakers Twine or Real Red/Gold/Solver 1/8" ribbon to tie the tags onto the bows
I hope you will have a go at making these boxes. Do Let me know how you get on.

If you would like
to ask any questions on techniques or products, or anything else related to my
blog posts, please feel free to ask away
To View the Merry Stars Stamp Set, simply Click on the image of the seasonal Supplment below and it will take you straight there

I have given you ALL the products I used in making these boxes, so you can pick and choose the ones you want to use/purchase
Happy Stamping
Kim xxx
Contact me to
order:
Telephone/Txt:
07759587004
Email: kim@stampinupatthewarren.com
Or Order
Online 24/7
Or Click on the
image of the products used below and it will take you straight to my online
store
 |  |  |  |  |
 |  |  |  |  |
 |  |  |  |  |
 |  |  |  |  |
 |  |  |  |  |
 | 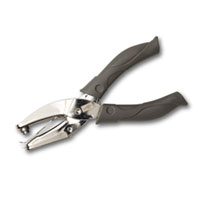 |
Table built using Product Table Builder by The Crafty Owl - Independent Stampin' Up! Demonstrator.


No comments:
Post a Comment