
Well it is offucial!
We are on the Countdown to Christmas
So to help us on our Journey, we have just one main stamp set for the next few weeks
25 DAYS
But there will be many other Stamp Sets that will keep us going. There will also be as many gift packaging and gift tag Ideas to give you more inspiration.
You will also notice that there will be a decorated Star Gift Box each day too.
These all come from the MANY MERRY STARS SIMPLY CREATED KIT
and with a couple of exceptions, they have been madefrom the kit and its' embellishments. There is some hand drawn stitching too.
Why not order your Kit before the stock runs out .. because when they're gone, they're gone!
Scroll toward the bottom of todays blog and look for the product icons, if you click on the images it will take you straight to that product in my online store.
AND ... yes, there is more ... there will be a daily countdown tag and hope you get some inspiration for your own projects ...

Today, I have a clean and crisp, clean card make for you,
Before anyone shouts at me ... I know that the Reindeer is a retired product from last years seasonal catalogue , but this is a card made at last weeks Cardcraft Class, and we were concentrating on the Nordic Style that is Trending this year. In keeping with this theme, I went with a monochrome colourscheme using just Cherry Cobbler, I used I Love Lace stamp to create my own decorative paper, using just Whisper White cardstock and Cherry Cobbler Ink,

Begin with a 6" (15 cms) card blank.
Trim a piece of Cherry Cobbler cardstock to 14.5 cms x 14.5 cms, and adhere to the card blank using a little Tombow MultiPurpost liquid glue.
Next, trim a piece of Whisper White cardstock to 14 cm x 14 cms.
Stamp your sentiment using Cherry Cobbler to the bottom centre of the white cardstock using Cherry Cobbler Ink, Attach to the Cherry Cobbler layer using a little Cherry Cobbler ink.
Trim a piece of Cherry cobbler cardstock to 1.5cms x 9.5cms and create banner ends using the Banner Punch but insert the card from the top of the punch and slide between the cutting blades of the punch.
Trim a further piece of the DSP to 1.5 cms x 10.5 cms and make banner ends the same way as above.
Attach the 2 banners to the left hand side of the card, inset by approximately 2 cms, overlapping the two banners.
Trim a 1.5 cm wide strip of Designer Series Paper (DSP) or your own stamped decorative paper, and attach it just above the centre of the card, at a right angle to the two banners.
Next, punch a 2.5" circle from Whisper White cardstock using the same size circle punch.
Using your Cherry Cobbler Stampin Write Marker Pen, draw a X- Stitch pattern to make a border around the edge of the circle.
Stamp the Reindeer in the center, also in Cherry Cobbler ink.
Using the scraps of card and paper from this project, punch some small Banners using the Banner Punch in the normal way. Attach to the circle at the 4pm position.
Apply Stampin Dimensionals to the reverse and attach to the centre of the card.
Punch a few small stars in gold glimmer paper and attach to the larger 2 banners.
And there you have it!
I do hope you have enjoyed my project. I would love to hear your own comments, so feel free to ask away ...

If you
would like to join my community board on my Pinterest account to post your own
photo's
ping me
your email address and I will add you
kim@stampinupatthewarren.com
If you would like
to ask any questions on techniques or products, or anything else related to my
blog posts, please feel free to ask away
Happy Stamping
Kim xxx
Contact me to order:
Telephone/Txt:
07759587004
Email: kim@stampinupatthewarren.com
Or Order
Online 24/7
Or Click on the
image of the products used below and it will take you straight to my online
store


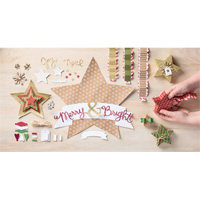


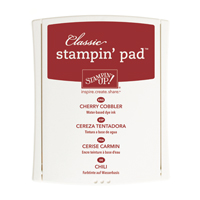
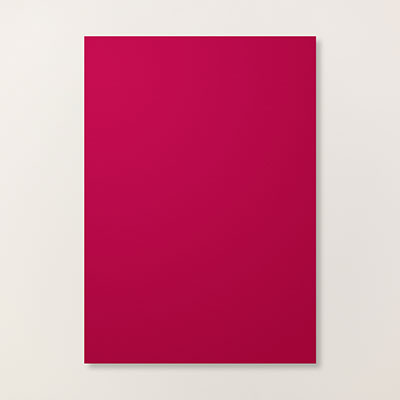

Table built using Product Table Builder by The Crafty Owl - Independent Stampin' Up! Demonstrator.


No comments:
Post a Comment