
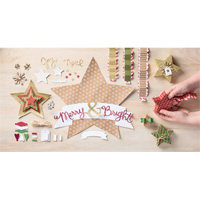
Welcome to todays 25 Days Advent Stamp set Showcase
and we are now up to day 7 ... where is the month going? I need it to slow down a little or I am not going to get everything done in time!!
And thinking along that thread, I have designed a really quick card make plus a matching gift tag. The items used are listed below ( just click on the product icons to view them), but very quickly, the list of products includes:
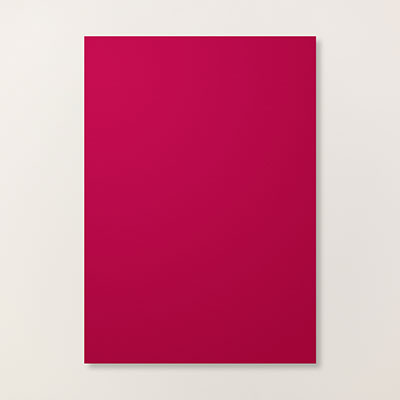
A4 Cherry Cobbler Cardstock
A4 Crumb Cake Cardstock
Cherry Cobbler Ink Pad
Metalic Gold Encore Ink Pad
Endless Wishes Photo-polymer stamp set
Cherry Cobbler Sheer Linen Ribbon
Basic Rhinestones
Large Oval Punch
Scallop Oval Punch
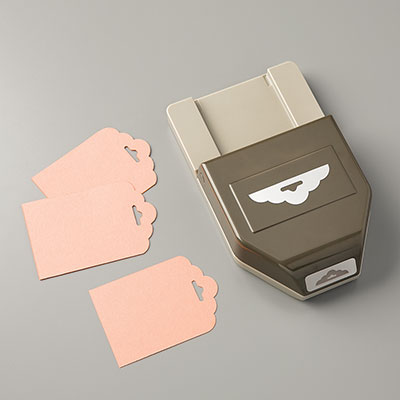
Scalloped Tag Topper Punch
Adhesives

Below is todays Advent Countdown Tag which can be used for any occasion, not just for Christmas!
Brilliant for Scrapbooking!! , and I have used the same products for the 25 Days Advent Tag, as I have for the Card and the co-ordinating Tag.
Begin by making your card by trimming a piece of Cherry Cobbler cardstock to 29.6 cms x 10.5 cms.
Score the long side at 10.5 cms, fold along the score line and burnish with your bone folder.
The card stands with the fold at the top of the card blank.
Round the 4 corners at the bottom of the card.
Use a corner rounder (I use my Envelope Punch Board for this).
Next, trim a piece of Crumb Cake cardstock to 10 cms
14.3 cms
Round the bottom two corners to match up with the card blank.
Ink up the medium sized snowflake in the Endless Wishes with Cherry Cobbler Ink and randomly stamp the Crumb Cake cardstock 3 or 4 times, re-inking between each stamping.
Next stamp your greeting onto the Crumb Cake panel using Cherry Cobbler Ink.
Next stamp with the smaller star in Gold Metallic Gold Encore Ink, again, this needs to be random.
Mount the Crumb Cake panel onto the Cherry Cobbler Card Blank using Stampin Dimensionals.
Add 5 basic Rhinestones to the card and that is completed.
Next, Trim a piece of Cherry Cobbler cardstock to 5 cms x 10 cms. Insert into the Scalloped Tag Topper Punch, and punch.
Next trim a piece of Crumb Cake Cardstock to 4.5 cms x 9.5 cms, Punch the tag top the same was as with the Cherry Cobbler tag. a combination of Cherry Cobbler Ink and Metallic Gold Encore Ink
Randomly stamp this panel with
Mount the stamped panel onto the Cherry Cobbler Tag using a little Tombow Multi-Purpose Liquid Glue.
Stamp your sentiment onto a scrap of Crumb Cake cardstock using Cherry Cobbler Ink.
Randomly stamp a scrap of Crumb Cake Cardstock with the same inks and snowflakes used above.
Punch out a Scallop Oval using Cherry Cobbler cardstock.
Use the large Oval Punch to punch out your sentiment. Apply Stampin Dimensionals to the back of the large Oval Punch and the Scallop Oval Punch and layer them up, and attach to the bottom section of the Tag.
Add some Basic Rhinestones and insert a length of Cherry Cobbler Sheer Linen Ribbon through both of the Tag Topper holes.
And that is it ... but it is much less complicated when making the card and Tag in person.
Any queries, just drop me a line

If you would like
to ask any questions on techniques or products, or anything else related to my
blog posts, please feel free to ask away
Happy Stamping
Kim xxx
Contact me to order:
Telephone/Txt:
07759587004
Email: kim@stampinupatthewarren.com
Or Order
Online 24/7
Or Click on the
image of the products used below and it will take you straight to my online
store
 |  |  |  |  |
 |  |  |  |  |
 |  |  |  |  |
 |  |  |
Table built using Product Table Builder by The Crafty Owl - Independent Stampin' Up! Demonstrator.


No comments:
Post a Comment