
I have had a fab day today ... A day out christmas Shopping, lunch at Jamies Italian and on to watch The Hobbit ...
And on arriving home, I made this little Gift Tag for a friend's Gift, as she is visiting tomorrow.
I have used a combination of the Chalk Talk Framelits and the Deco Labels Framelits.Plus
the BEARING GIFTS stamp set

Begin by Stamping the Bearing Gifts stamp onto Whisper White Cardstock using Tuxedo Black Memento Ink
Die Cut using the 3rd largest Deco Label Framelit (do not worry that the sentiment does not fit fully into the framelit).
Next colour in the Children, Gifts Santa's Hat And the Wreath using a combination of the following Blendabilities Assortments:
Crumb Cake
Cherry Cobbler &
Old Olive
Create Highlights/shadow using first the light Coastal Cabana Blendability Pen, and over colour this with the light Crumb Cake using small feather marks.
Then sponge the die cut with Coastal Cabana ink.

Next, Stamp the sentiment again onto a scrap of Whisper White Cardstock, sponge with Coastal Cabana Ink and trim the tag to 1cm wide. Use the Banner Punch to create banner ends by inserting the strip of cardstock in through the top of the punch and between the cutting blade, Repeat with the opposite end.
Trim a piece of Under The Tree Specialty Designer Series Paper to 1.5cms wide, punch one end with the banner punch as above. Adhere the sentiment to the DSP using a little Tombow Multipurpose Glue and then punch the opposite end with the banner punch as above.
Apply Stampin Dimensionals to the reverse of the sentiment tag and place on to of the the Die Cut and coloured tag, Apply Stampin Dimensionals to the reverse of the Tag.
Finally, die cut the large tag from the chalk Talk Framelits using Red Glimmer Paper.
Attach the Bearing Gifts Tag on top of the Glimmer Tag, thread through the tag top with Cherry Cobbler Sheer Linen Thread and tie a bow.
And that is todays project made.

Now a week or so ago, I promised you I would phot more photo's of my home as we have been dressing the house. And here is the second of our Christmas Trees
A 4 foot tree in our Hallway
We have kept this very simple, with a Victorian Sledge propped by the tree, and hung Candy Canes and a few wooden Ornaments hanging on the tree
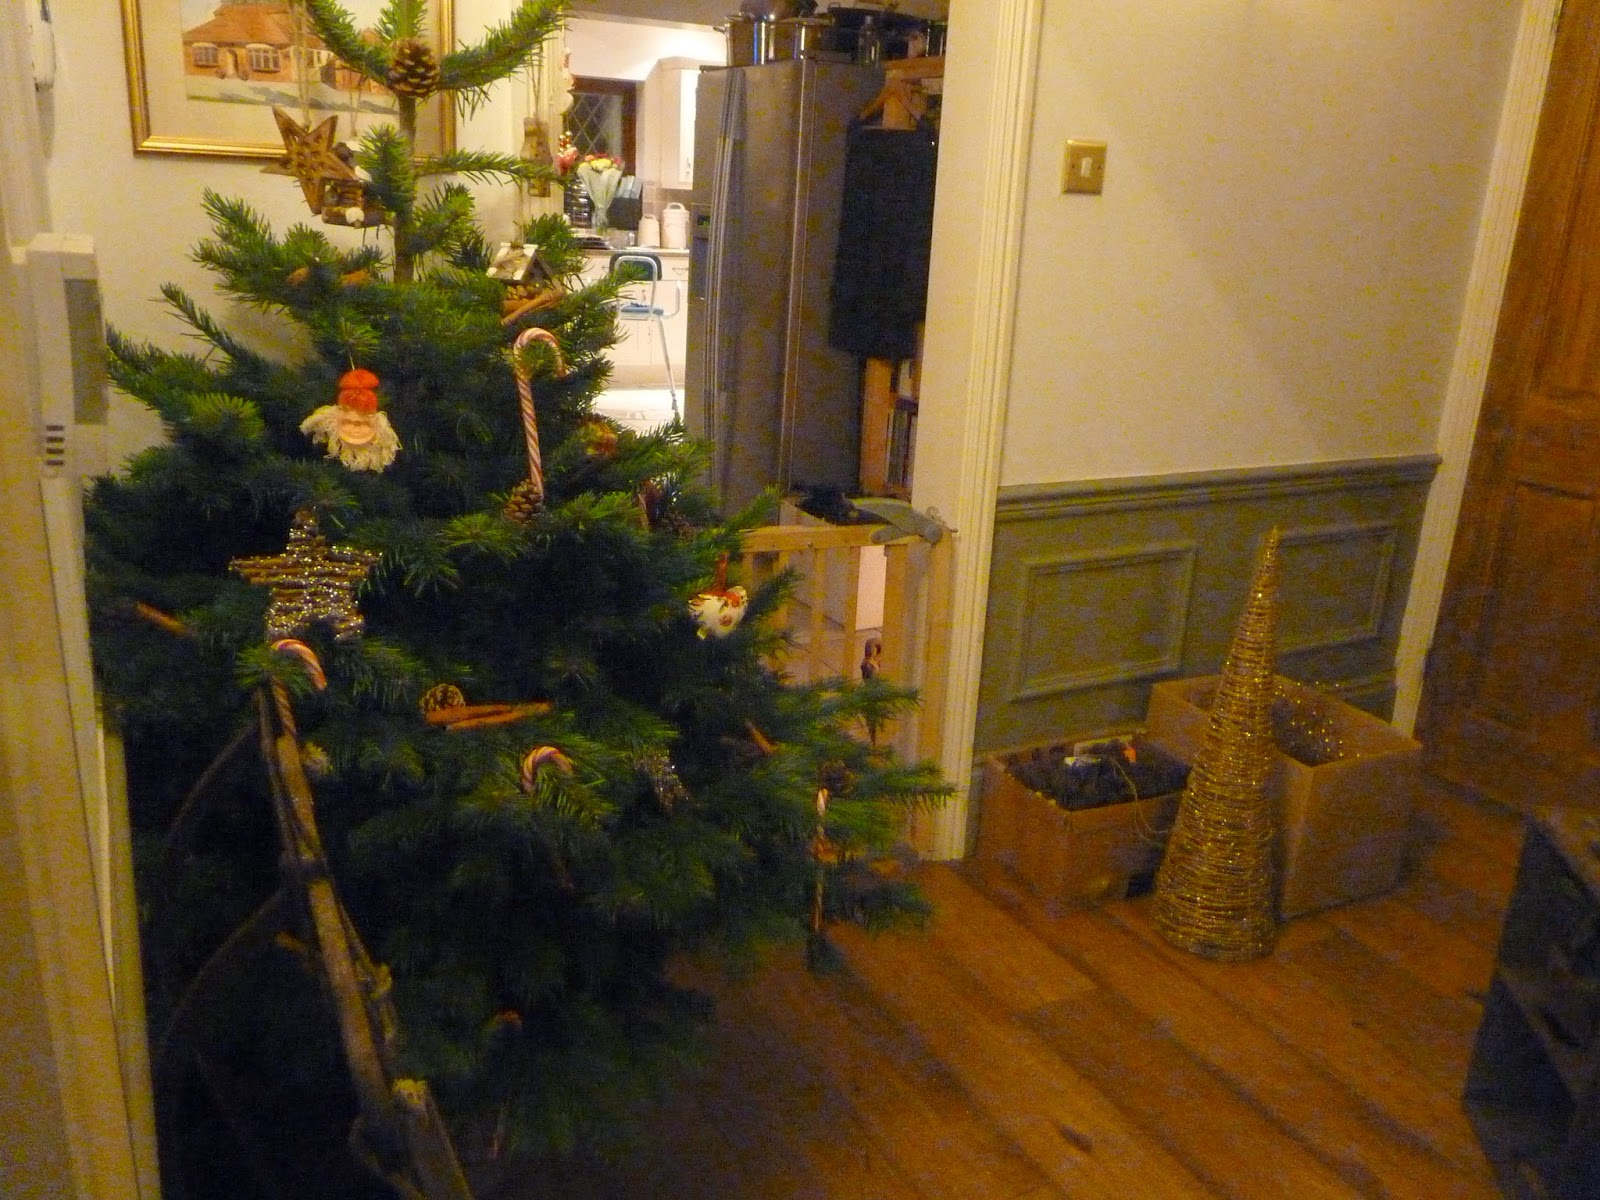
And lots of greenery from our garden

If you
would like to join my community board on my Pinterest account to post your own
photo's
ping me
your email address and I will add you
kim@stampinupatthewarren.com
If you would like
to ask any questions on techniques or products, or anything else related to my
blog posts, please feel free to ask away
Happy Stamping
Kim xxx
Contact me to order:
Telephone/Txt:
07759587004
Email: kim@stampinupatthewarren.com
Or Order
Online 24/7
Or Click on the
image of the products used below and it will take you straight to my online
store
 |  |  |  |  |
 |  |  |  |  |
 |  |  |  |  |
Table built using Product Table Builder by The Crafty Owl - Independent Stampin' Up! Demonstrator.


No comments:
Post a Comment