
Today I have another Gorgeous Grunge Card for you, with a masculine Valentine feel
& of course, that means another day of the delectable Gorgeous Grunge Stamp Set.
Products Used Today:
Stamp Sets:
Gorgeous Grunge
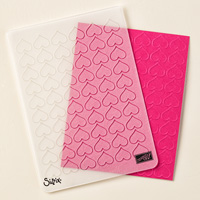
TIEF:
Happy Heart
Cardstock:
Basic Black
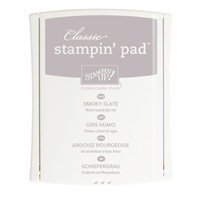
Smokey Slate
Cherry Cobbler
Whisper White
Classic Stampin Ink Pads
Craft White
Basic Black
Smokey Slate
Real Red
Punches:
Decorative Label
Extra Large Oval
Itty Bitty Accents Punch Pack
Tools:
Big Shot or Texture Boutique
Stampin Trimmer
Hearts Mask
Sponge Daubers
Accessories:
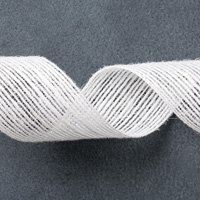
White Jute Ribbon
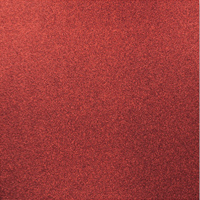
Red Glimmer Paper

Begin by Making your card blank by stamping a piece of Basic Black cardstock to 14.8cms x 21 cms
Score the long side at 10.5cms and fold, making a crisp fold using your bone folder. And remember to always fold away from the indentation left by scoring, to minimise cardstock fracturing along the crease. Place to one side
Next, trim a piece of Smokey Slate cardstock to 14.3 cms x 10 cms
Dry emboss this panel using the Happy Hearts TIEF and run this through the Big Shot (on tab1) or your Texture Boutique.
Now trim a piece of Whisper White Cardstock to 14.3cms x 10 cms andcut in half on the diagonal.
On one of the diagonal pieces of cardstock, stamp it using a combination of the Gorgeous Grunge stamps and the ink pads mentioned in the list above.
Ink the edge sof the cardstock in Real Red ink.

Now for the messy bit. Cut two small rectangular pieces of cardstock, one from Basic Black cardstock, and the other from Cherry Cobbler cardstock.
Place these down on some scrap paper or your Grid Paper Pad and lightly tape down with some Washi Tape or low tack Masking Tape.
Place the Hearts Mask of the top of these and tape down the corners to prevent it moving.
Ink up a clean sponge dauber with White Craft Ink and sponge the cardstock. Leave to dry for a few minutes before removing the mask (to avoid smudging).
Attach these to the diagonal edge of the stamped triangle so they appear to be cards slotted in behind the triangle. Small amounts of Tombow are best for this.
Attach the stamped triangle on top of the embossed panel using small amounts of Tombow Multi-Purpose Liquid Glue.
Wrap around the White Jute Ribbon and secure on the back of the card front.
Attach to the front of your card blank.
Now to finish you need a label. Using the Decorative Label Punch to Punch two black labels and one Smokey Slate. With the two black labels, you want to cut one in half on the Vertical and the other on the Horizontal.
Using tiny amounts of Tombow, attach the matching pieces to the back of the Smokey Slate label, giving a 2mm black border, The overlapping will not show on the finished piece.
Next, stamp your sentiment in Basic Black ink and once dry, punch our with the Extra large Oval Punch.Sponge the edges with Real Red ink and apply a couple of Stampin Dimensionals to the back and adhere to the card front.
And that is it. It sounds more complicated than it is in reality, so go have some fund
And if you fancy your very own Gorgeous Grunge Stamp Set to make your own backgrounds, just click on the stamp set icon toward the bottom of this page and it will take you straight there!

If you
would like to join my Pinterest community board where you will be able to post
your own Stampin Up creations. Simply email me and I will add you to the board
If you would like
to ask any questions on techniques or products, or anything else related to my
blog posts, please feel free to ask away
Happy Stamping
Kim xxx
Contact me to
order:
Telephone/Txt:
07759587004
Email: kim@stampinupatthewarren.com
Or Order
Online 24/7
Or Click on the
image of the products used below and it will take you straight to my online
store
 |  |  |  |  |
 |  |  |  |  |
 |  |  |  |  |
 |  |  |  |  |
 |  |  |  |  |
Table built using Product Table Builder by The Crafty Owl - Independent Stampin' Up! Demonstrator.


No comments:
Post a Comment