Bokeh Technique
I have seen the Bokeh Technique popping up all over the internet, and although my hubby is big with his photography and has used this technique in that medium, but it never occurred to me to give it a co with my card making.
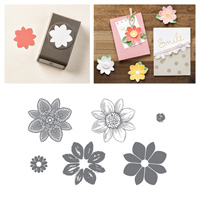
So here it is ... and I LOVED playing with the Circles Mask from Stampin up! with White Craft Ink and sponge dauber.

Begin by sponging your background onto a 10 cms x 14.3 cms piece of Whisper White cardstock.
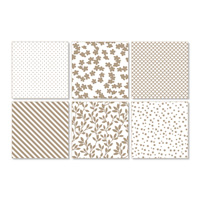
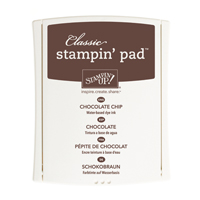
I used a Stampin Sponge and each of the Subtles Collection Classic ink pads to create your multi-coloured background.
Then use a little Washi Tape to hold the piece of cardstock down, and also tape down the circles Mask.
Ink up the sponge dauber with White Craft Ink and work it into the circles. Keep moving the mask after giving the ink a chance to dry, overlapping the circles you have already formed to create a multi-tonal background.
Trim a piece of White Vellum to 14.3 cms x 10 cms and adhere the Vellum to the card front using Glue Dots
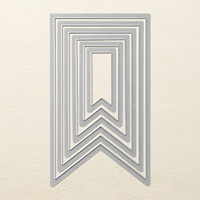
Use the Banners Framelits to make one large and one small banner from Marina Mist and Blushing Bridge cardstock respectively.
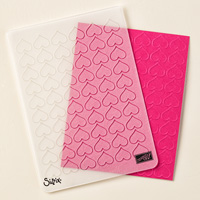
Dry emboss the large banner with the Happy Hearts Textured Impressions Embossing Folder.
Attach the banners as shown above.
Cut a Tea Lace Doily in half and overlap it at the top of the card front and stick in place.

Attach the card front to an A6 White Card Blank,
Time for you htp have some fun ... go CASE away!

If you
would like to join my Pinterest community board where you will be able to post
your own Stampin Up creations. Simply email me and I will add you to the board
If you would like
to ask any questions on techniques or products, or anything else related to my
blog posts, please feel free to ask away
Happy Stamping
Kim xxx
Contact me to
order:
Telephone/Txt:
07759587004
Email: kim@stampinupatthewarren.com
Or Order
Online 24/7
Or Click on the
image of the products used below and it will take you straight to my online
store
 |  |  |  |  |
 |  |  |  |  |
 |  |  |  |  |
 |  |  | 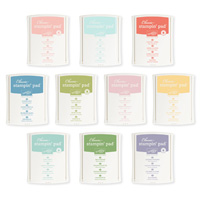 | 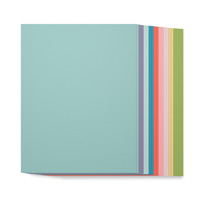 |
Table built using Product Table Builder by The Crafty Owl - Independent Stampin' Up! Demonstrator.