
Now, I am making no apologies for today's project being heavy on the Stamp Set front.
Why?
Because I just had SO much fun making this frame.
It began with me having an idea of making a masculine Home Decore piece, but as I worked with the products I had assembled in front of me, I veered over to a more feminine frame, but one that a man would more likely pick for that someone special in his life.
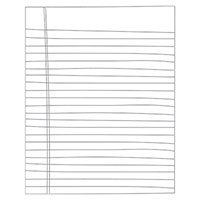
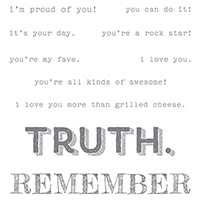
The core of the project was worked around the Words of Truth Stamp Set & the new Writing Notes Background stamp.
The writing Lines was stamped onto Very Vanilla cardstock using Sahara Sand ink. I then used my Blender Pen to add colour to the vertical line (Blackberry Bliss).
This panel was distressed, by tearing and curling the edges, and sponging the panel with a combination of Crumb Cake and Hello Honey inks.
The panel was then stamped with the "Remember" stamp, and the "you're all kinds of awesome" stamp using Early Espresso ink.

The Main background was also a panel of Very Vanilla Cardstock and I used the Gorgeous Grunge Stamp Set with the 2014-16 In Colour Classic Ink Pads, to build the background using all of the stamps in the set.
This panel was over-stamped with the World Map background stamp, using Early Espresso ink.
I then stamped the " Truth & I Love You" stamps in the bottom corner of this panel using Early Espresso ink again.

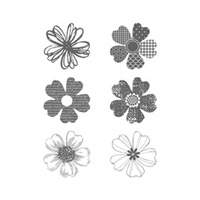
Next, using the same In Colour Inks, I stamped a variety of flowers from the Flower Shop Stamp Set & the Petite Petals Stamp Set, still using Very Vanilla cardstock.
The edges of the flowers were sponged once the flowers were punched out using either the Pansy Punch or the Petite Petals Punch.
These were artistically attached to the base card and the writing notes panel using a combination of Stampin Dimensionals and Chrystal Effects.
Basic Rhinestones were added to the flowers using a mix of sizes.
I also curled around some of the Gold Metallic Thread (another newcomer to the catalogue), and placed it behind some of the flowers.
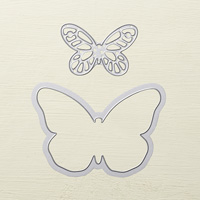
Next I die cut several of the small intricate butterflies from the new Bold Butterfly Framelits Dies, using scraps of coordinating In Colour cardstock
A mix of Rhinestones and pearls were added to the butterflies
After mounting the project into the frame, I added another couple of butterflies, and added Basic Pearls to them and used Chrystal Effects to adhere them to the frame.

I hope you like it?
And here are the Stampin Up! products I have used today
Click on the images to view the details
 |  |  |  |  |
 |  |  |  |  |
 |  |  |  |  |
 |  |  |  |  |
 |  |  |  |  |
 |  |  |
Table built using Product Table Builder by The Crafty Owl - Independent Stampin' Up! Demonstrator.
Now then, Ladies and Gents, you will see several YouTUbe clips about at the moment, with Demonstrators sharing what two stamp sets they would pick if they could have them for free?
So I am going to ask all of you, my followers, what two stamp sets would you pick?
OK, so you want to know what two stamp sets I would pick?
My choices are...
Gorgeous Grunge ... because it is just an amazing background builder
& my second Stamp Set would have to be Wetlands as it is a unisex stamp set with 3 commonly stylish sentiments
Now it is your turn to share!

No comments:
Post a Comment