
I hope your weekend has gotten off to a good start?
The weather, here in SE Essex, is gloriously warm
And I have a garden full of ripening berries
So ... tomorrow will be the day for harvesting all those berries, and I love looking forward to fresh fruit compote with fat free Greek Yoghurt!!
A complete treat for me!
Anyhow, I am a little late getting to today's project, as I had visitors this-morning, finalising the Minions Wedding Cake I am making for them!
And here is the card I am sharing with you today.
The mint macaron colour scheme, with cool Whisper White gives this card a cooling feel for these balmy summer days
The stamp set is
BIRTHDAY BLOSSOMS
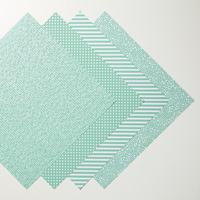
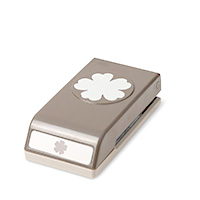
and I have combined it with the 2015-2017 In Colour Designer Series Paper Stack The Pansy Punch and the Itty Bitty Accents Punch Pack
The Sentiment comes from the same Stamp Set
So this is a quick to make, with very few products required
Perfect for every Crafter!

And here are the products I have used today.
Click on the product icons below to view the items in more detail, and/or order them
 |  |  |  |  |
 |  |  |  |  |
 |  |  |  |  |
 |  |
Table built using Product Table Builder by The Crafty Owl - Independent Stampin' Up! Demonstrator.
And here is how I made the card

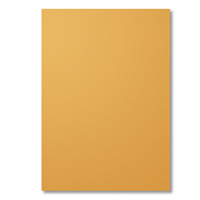
Begin by making your A6 card base using Delightful Dijon Cardstock
Remember to use the scoring blade on your Stampin Trimmer, to give a more professional finish.
Next trim the Whisper White Cardstock to 4mm shorter & narrower than the card base,
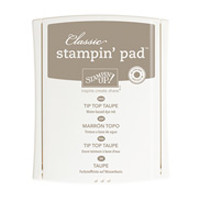
You want to do the stamping first, using Mint Macaron Classic Ink PAd with the larger flower stamp.
Do have a mind of where you want the elements of the card to go, before you put stamp to paper!
Next, Stamp your sentiment in the bottom right corner of the whisper white panel.
Trim a 2 cm strip of DSP to fit the length of the card front, and use Fast Fuse adhesive to adhere this strip to the left hand side of the card front.
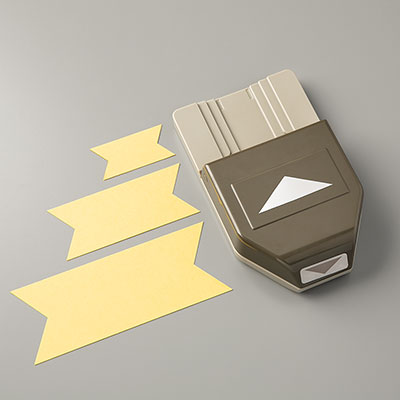
Now trim a strip of 2015-2017 Designer Series Paper (DSP) stack to 3.8 cms wide and 17 cms long
Using the middle guide in the Triple Banner Punch, punch both end of the DSP strip . then score the strip of DSP at 10 cms, and fold the DSP at this point.
Use a tiny strip of fast fuse to hold the folded banner together, and then use Fast Fuse on the back of the larger banner, and add some Fast Fuse Adhesive to the back and adhere to your card front.
Now stamp some of the Pansy Flowers from the same Stamp Set, using Mint Macaron Classic Ink Pad, and punch them out using the Pansy Punch
Apply Stampin Dimensionals to the back of the 2 or 3 flowers, and attach these to your card front.
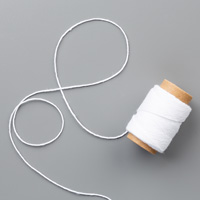
Take 2 of the smaller buttons from the Very Vintage Designer Buttons, and thread with Whisper White Bakers Twine, and attach to the centre of the Pansy Flowers.
Finally, punch out some of the tiny flowers in the Itty Bitty Accents Punch Pack, using scraps of Mint Macaron Cardstock. Attach these to the card front using either Mini Glue Dots or a dot of Chrystal Effects.
And there you have it!
I hope you like my little creation, and now it is over to you ...
Have Fun
Happy Stamping
Kim xxx

Would like to JOIN my Pinterest Community
Board?
where you will be able to post your own
Stampin Up! Makes?
If the answer is YES Follow
my Community Pinterest Board
(see the left side
bar of this block)
And I will sent you
an invitation to start pinning
If you have any
questions on techniques, orders, products
OR
Joining my Team as an Independent Stampin
Up! Demonstrator
contact me via:-
Email me: kim@stampinupatthewarren.com
Text: 07759587004
Order Online 34/7
http://www.stampinup.net/esuite/home/stampinupatthewarren/
No comments:
Post a Comment