
Today's card was a request from my Mum, as a special Birthday Card
for one of my 3 younger brothers.
My brother is a keen Scuba Diver, and is also a qualified Scuba Trainer.
So cards for him, are always requested to be of a nautical theme.
This one is a Large Card (A5), and that was great as it meant I could get tons of marine life onto the card, along with some 'bubbles' with the help of the Splatter stamp from Stampin Up!
The Antique Brad was a little addition to hold on some Thicker Bakers Twine.

Here are the products used to create this card
If you fancy purchasing any of today's products, just click on the product icons below, to view/order them in my Online Store 20/4
 |  |  |  |  |  |
 |  |  |  |  |  |
 |  |  |  |
Table built using Product Table Builder by The Crafty Owl - Independent Stampin' Up! Demonstrator.

And here is how to make this card
Begin by making your card base using Stampin Up!s new Thicker A4 Whisper White Cardstock. This cardstock is perfect for larger card bases, as it can keep it's shape without any additional support.
Next, cut your Whisper White panel to size using your Stampin Trimmer.
You are going to use this panel for your stamping.
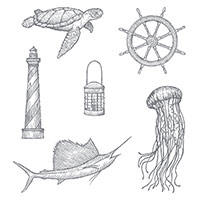
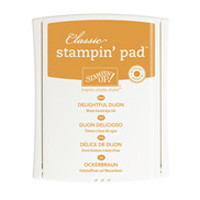
Begin by stamping the Coral stamp from By The Tide Stamp Set using both Delightful Dijon and Lost Lagoon ink (remember to clean your stamp between stamping with a different colour.
Now, stamp the 'bubbles' using the fine splatter stamp from Gorgous Grunge Stamp Set using Lost Lagoon Classic OInk Pad.
Nest, stamp you Jellyfish using Sahara Sand Classic Ink Pad.
Then stamp the turtles using Early Espresso Classic Ink Pad.
Then stamp the sea horses, using Mint Macaron Classic Ink Pad, and finally the sea script stamp, that you need to randomly stamp onto your card front, using 1st, 2nd, & 3rd Generation Stamping.
This just means the amount of times you stamp before re-inking the stamp.
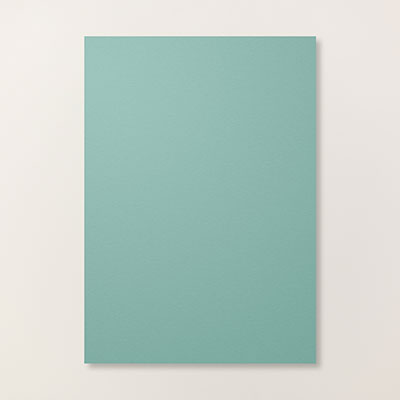
Mat (layer) the stamped panel onto a piece of Lost Lagoon Cardstock.
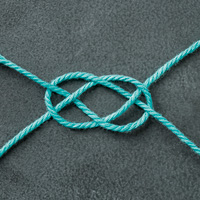
Next, make a small hole in the top left corner of the panel and thread through some knotted Bermuda Bay Thicker Bakers Twine. Insert an Antique Brad through the same hole, and adhere the panel to the front of your Card Base using Fast Fuse Adhesive,
Stamp your Sentiment from Remembering Your Birthday Stamp Set, onto a Scrap of Whisper White Cardstock using Early Espresso Classic Ink Pad and punch it out using the Washi Label. You can shorten the label by re-inserting the label in through the top of the Punch and guiding the label through the top of the punch and guiding it between the cutting plates,
Punch 2 more Washi Labels from Lost Lagoon Cardstock.
Cut one in half on the vertical, and the other you need to cut in half on the horizontal.
Adhere the corresponding pieces to your sentiment label.
Attach Stampin Dimensionals to the reverse using Stampin Dimesionals.
And that is it
Feel free to CASE Away

Join my Pinterest
community board,
where you
can share your own Stampin Up Creations?
Follow the
Pinterest Board on the left hand side bar and I will send you an invitation to
follow the Stampin Up! At The Warren Community Pinterest Board
If you have any
questions on techniques or products, or Joining my Team/discussing the business
opportunities Stampin Up! Can offer
Contact Me
Or telephone/text
07759587004
Kim@stampinupatthewarren.com
Happy Stamping
Kim xxx
Order your Craft
Supplies on line 24/7
No comments:
Post a Comment