
The card I'm sharing with you today, is the partner card to the one I made yesterday.
No embossing today, but many of the products used yesterday, are needed for today's card too.
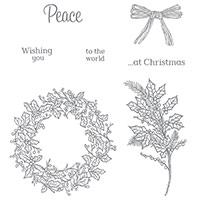
The main differences between the two, is the accessories I have used today, and I added the sentiment from the Versatile Christmas Stamp Set, and used one of the Dies from the Project Life Cards and Labels Framelits
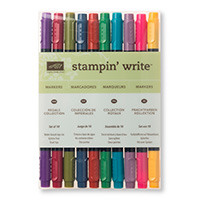
But the main similarity, is the colouring technique with the Regals Stampin Write Markers.

Below are the products you will need to CASE todays card (Copy & Paste Everything)
Click on the product icons to view more detail or place your order
Click on the product icons to view more detail or place your order
 |  |  |  |  |
 |  |  |  |  |
 |  |  |  |  |
 |  |  | 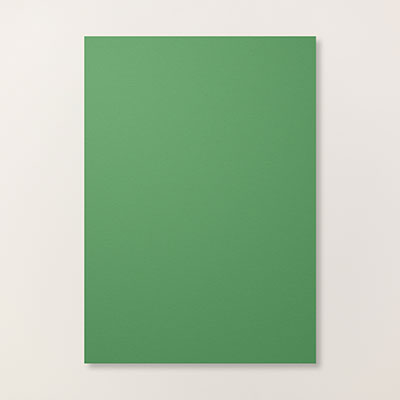 | 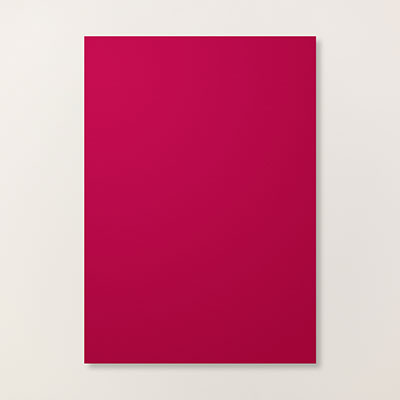 |
Table built using Product Table Builder by The Crafty Owl - Independent Stampin' Up! Demonstrator.
And here is the tutorial
- Begin by making your card base by trimming a piece of Thicker At Whisper White Cardstock to 14.8 cms x 21 cms. Score the long side at 10.5 cms, fold and use your bone folder to make a crisp fold.
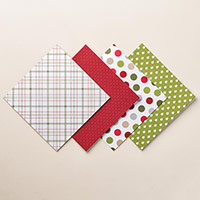
- Trim a piece of Cherry Cobbler Dotty Decorative Paper from the Merry Moments Designer Series Paper Stack to 14 cms x 9.7cms
- Mat (layer) the DSP onto to a piece of Cherry Cobbler Cardstock to 14.4 cms x 10.1 cms
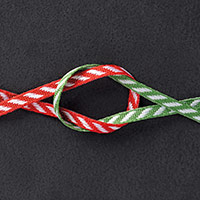
- Wrap around a piece of Garden Green stripped ribbon and tie a bow, leaving long ends.
- Next, stamp the Peaceful Wreath leaf stamp onto a scrap of Whisper White Cardstock using Black Archival Ink Pad.
- Now use your Regals Stampin Write Markers to colour in the leaves and holly berries
- Trim to size, and mat onto a piece of Garden Green Cardstock. Mount this onto the DSP on the left hand side of your card front.
- Adhere a large Snowflake Element nest to the coloured leaves panel using a Stampin Dimensionals.
- Add a Metal Rimmed Pearl on top of the Snowflake Element
- Stamp the REJOICE stamp from the Versatile Christmas Stamp Set, and die cut using one of the dies from the Project Life Cards & Labels Framelits.
... and Ta Dah!! the card is complete ... now it is over to you ...

Join my Pinterest community board,
where you can share your own Stampin Up Creations?
Follow the Pinterest Board on the left hand side
bar and I will send you an invitation to follow the Stampin Up! At The Warren
Community Pinterest Board
If you have any
questions on techniques or products, or Joining my Team/discussing the business
opportunities Stampin Up! Can offer
Contact Me
Or telephone/text
07759587004
Happy Stamping
Kim
xxx
Order your Craft
Supplies on line 24/7
http://www.stampinup.net/esuite/home/stampinupatthewarren/
No comments:
Post a Comment