I am delighted to say I feel a little better in myself .... phew
I really dislike being under the weather. I do not make a good patient. But that's what comes with being an ex-nurse he he
Anyhow .... lets get straight to the card I am sharing with you today.
It is so quick and simple to make that it almost meeds no explanation from me
Except for the star of the show
and that would be the
VERSATILE CHRISTMAS
Stamp Set
And once you see the beautiful seasonal sentiments in the set, I am certain you will agree!
Below are the products you'll need to replicate today's card
Click on the Product Icons for more information
- Begin by making your 6" square card base by trimming a piece of Thicker A4 Whisper White Cardstock to 6" x 12" & score the long side at 6", fold and make a crisp fold using a bone folder,
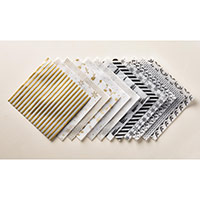
- Trim a piece of the Snowflake paper from the Winter Wonderland Designer Vellum Stack to 14.6 x 14.6 cms, adhere to the front of the card base using some Fast Fuse Adhesive.
- Next, stamp your sentiment of choice from the Versatile Christmas Stamp Set onto a piece of Whisper White Cardstock using the new Basic Black Archival Ink Pad.
- Die cut the sentiment using the best fitting Decor Framelit & run it through the Big Shot, preferable with the Magnetic Platform in place.
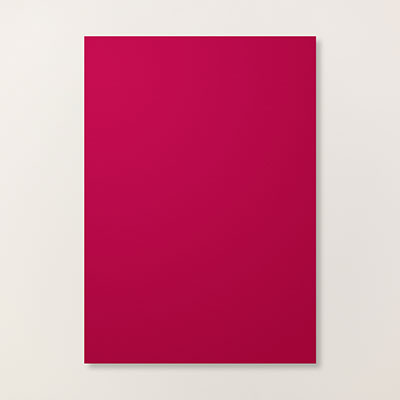
- Now die cut the next largest Deco Label from Cherry Cobbler Cardstock
- Apply Stampin Up Dimensionals to the reverse of both labels and stack them up.
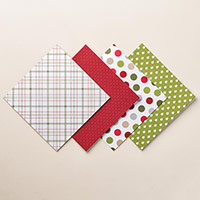
- Trim a scrap of Merry Moments Designer Paper Stack to 1.5 cms wide, and use the Banner Punch, fed through the top of the punch, and guide between the cutting plates and punch to create banner ends. Use a little Fast Fuse Adhesive and stick the flag to the back of the largest Deco Label (i.e. the Cherry Cobbler Label).
- Attach the layered label to the centre of card front.
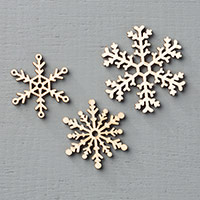
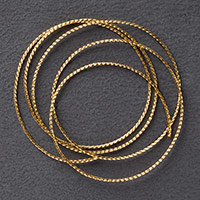
- Coil some Gold Cording Trim and adhere behind a large Snowflake Element to the top left of the Deco Labels. Then add a smaller Snowflake Element to the bottom right of the labels. With this one tie a neat bow with some more Gold Cording Trim, leaving long ends.
- Sdd some Basic Rhinestones here and there. And that is it ... all finishes.
- Now it is your turn ....
Join my Pinterest community board,
where you can share your own Stampin Up Creations?
Follow the Pinterest Board on the left hand side
bar and I will send you an invitation to follow the Stampin Up! At The Warren
Community Pinterest Board
If you have any
questions on techniques or products, or Joining my Team/discussing the business
opportunities Stampin Up! Can offer
Contact Me
Or telephone/text
07759587004
Happy Stamping
Kim
xxx
Order your Craft
Supplies on line 24/7
http://www.stampinup.net/esuite/home/stampinupatthewarren/










No comments:
Post a Comment