
Today I have a lovely gift project for you.
I was asked to create a little gift box for one of my customers to give to her sister for her Baby Shower. Rather than a gift, she wanted to give a gift packaged box of tags.
The tags are 2" square (folded), and hole punched.
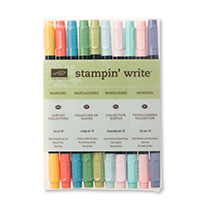
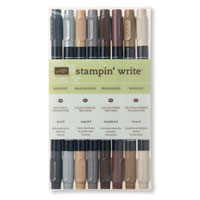
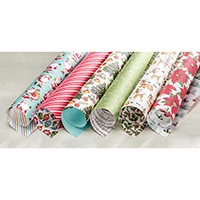
In the example below I used the Gorgeous Grunge Stamp Set to create the background, but by the time I came to making the video tutorial to go with the typed tutorial, I decided to create a striped background using the same Stampin Write Markers as I used for the larger gift tag,
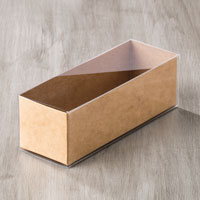
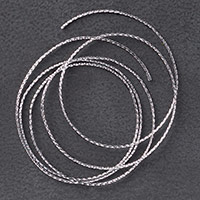
The Tag A Bag Gift Box, made from Kraft Cardstock, and comes in packs of 8 fold flat boxes with an acetate cover, holds 20 of the little gift tags and a reel of Silver (or gold) Cording Trim.
The video below shows you how to assemble the box, and the Marker to Stamp Technique giving a multi-coloured stamped image without the hassle of Masking.
It is a fab technique to use to get children stamping too!
Enjoy the video, but if you scroll down I have also given you a step by step tutorial too


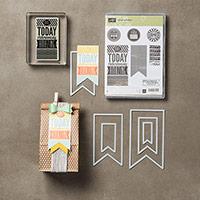
Below are all the products I used to create todays project
Click on the product icons to view or order them in my online store (UK)
 |  |  |  |  |  |  |
 |  |  |  |  |  |  |
 |  |
Table built using Product Table Builder by The Crafty Owl - Independent Stampin' Up! Demonstrator.
Watch the video below for the full tutorial
- Begin by making your 20 gift tags.by trimming 20 pieces of Thicker A4 Whisper White Cardstock to 5 cms x 10 cms; score the long edge down the middle at 5 cms; Fold along the score lines and burnish the fold using a bone folder.
- Using the brush tip on your markers, draw lines, alternating the colours ... do not worry if the lines are wavy
- Using the Soft Suede Stampin Write Marker, ink up and stamp 20 of the teeny thank you stamps in the Amazing Birthday Stamp Set, onto Whisper White Cardstock; Cut out each banner using paper snips, or the smallest banner framelit and your Big Shot
- Apply a couple of Stampin Dimensionals to the back of each banner and mount on the tag front.
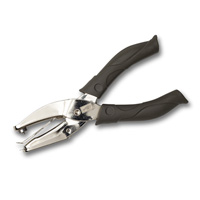
- Use the hole punch to punch a small hole that the Cording Trim will be threaded through.
- Once you have made all 20 tags, assemble your Gift Box, pop in the tags and a reel of Cording Trim. Close the box with the acetate cover
- Now for the larger tag.
- Mount the 'today is ridiculously amazing' stamp onto an clear block and ink up the stamp using the Stampin Write Markers in the same order that you used on the little tags.; Remember to re-hydrate the ink by 'huffing' your breath onto the stamp, before stamping onto the cardstock.
- Trim the Stamped image to size leaving a 1mm border around the edge; adhere to a piece of Soft Suede Cardstock using Fast Fuse Adhesive, and then die cut using the best sized Banner Framelit
- Use your hole punch to pop a hole in the centre top of the tag
- Trim a piece of the dotty Pool Party Designer Series Paper (DSP) from the Home For Christmas DSP Pack to 9 cms x 30 cms; Wrap this gentle around the centre of the box, using your fingers to crease the corners, and use Fast Fuse Adhesive or a little Tomboy to stick the Belly Band Together.
- Warp around some Very Vanilla Ribbon over the Belly Band (I have substituted Satin Ribbon as the Cotton Ribbon I used in the video is now discontinued); and tie a bow.
- Thread some Silver Cording Trim through the hole in the top of your tag and tie it around the knot of your bow.

JOIN my Pinterest Community Board
Where you will be able to post your own
Stampin Up! Makes
Simply follow my
Community Pinterest Board
And I will sent you
an invitation to start pinning
If you have any
questions on techniques, orders, products
OR
Joining my Team as an Independent Stampin
Up! Demonstrator
contact me via:-
Email me: kim.tolton@googlemail.com
Text: 07759587004
Order Online 24/7
No comments:
Post a Comment