Welcome Back to another of this weeks Catalogue Case Cards
The aim of this weeks Video Supported Case Cards is to encourage new and novice Crafters, to get stuck in and have a go.
This weeks cards are all quick and simple, no fuss cards
CASE 'ing simply means
COPY AND PASTE EVERYTHING
And providing you are not creating cards for your own use, or to use for demonstration purposes, if you are Stampin Up! Demonstrator, then CASEing is Cool!
It takes away the worry of "I'm not Creative"
Because we were all creative once, as babies and toddlers, even into childhood, but as we mature into adults, we lose confidence in out creative abilities.
But, crafting is like learning any new skill, once you know the ABC & the basic rules, you CAN do it!
And what is more .... you cannot, and will not get it right to begin with , but your family and friends will cherish the effort you put in to make something just for them.
Heck, I have been crafting and card making for over 30 years and I still mess up at times, it is just that I have learnt ways to turn an error into something that was always meant to be there!
And that is why my tutorials are 'Unplugged'
Because it makes you realise that I am human too, that I fluff up too, but that I just laugh at my foo pah's instead of worrying about them
My biggest tip, is if you mess up your first attempt at stamping a card front, turn the cardstock over and start again!
Below you will find all the products used to create today's card.
Click on the product links to view or order the items in my online store
Scroll further down for the tutorial
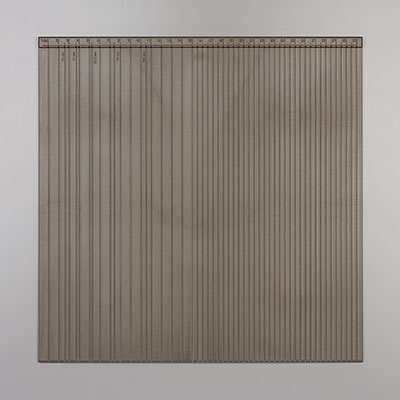
- Make your A6 card base by trimming a piece of Thicker Whisper White Cardstock to 21 cms x 14.8 cms; score the long side at 10.5 cms using either the scoring blade of your Stampin Trimmer, OR your Scoring Tool with the Metric Plate.
- Trim a piece of Hello Honey Cardstock to 14.4 x 10.1 cms
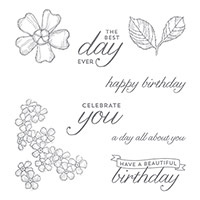
- Using the Hello Honey Classic Ink Pad, randomly stamp the cardstock with the floral stamp in Birthday Blossoms Stamp Set
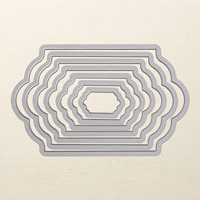
- Die Cut a large Lots of Labels tag using Whisper White Cardsock
- Using the Blackberry Bliss Classic Ink Pad, stamp the sentiment toward the top of the tag
- Stamp a few Leaves using the Mossy Meadow Classic Ink Pad
- Onto a scrap of Whisper White Cardstock, stamp 3 flowers using a combination of the Hello Honey & the Blackberry Bliss Classic Ink Pads
- Punch out the flowers using the Pansy Punch
- Pop Stampin Dimensionals on the back of the flowers and the Die Cut Label
- Layer them up
- Before sticking the label to the Hello Honey Cardstock, Wrap some Linen Thread around the panel 2 or 3 times and tie a knot.
- Mount the topper onto the Hello Honey Panel, then mount onto your card base using Fast Fuse Adhesive.
JOIN my Pinterest Community Board
Where you will be able to post your own
Stampin Up! Makes
Simply follow my
Community Pinterest Board
And I will sent you
an invitation to start pinning
Hi:
If you have any
questions on techniques, orders, products
OR
Joining my Team as an Independent Stampin
Up! Demonstrator
contact me via:-
Email me: kim.tolton@googlemail.com
Text: 07759587004
Order Online 24/7








No comments:
Post a Comment