
Welcome to another tutorial
And the card I am sharing with you today, has become one of my favourites for this year.
The main feature of today's project is the Dry Embossing, using the
Boughs & Berries Textured Impressions Embossing Folder (TIEF)
This folder creates a beautiful festive border, leaving a void in the centre for you to create some stunning toppers.
I have gone with a couple of the Christmas Sentiments from the
Versatile Christmas Stamp Set
using a layered label to allow the Sentiment to become the star of the show.
If you would like to CASE todays project, then scroll further down todays blogpost, where you will find the tutorial

Below are the products used to create todays card.
Click on the product icons to view the item in more detail, and.orplace an order in my online store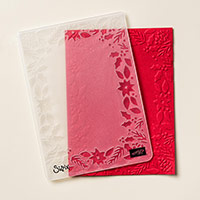 | 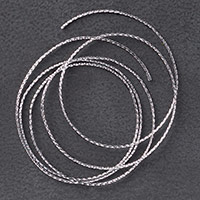 | 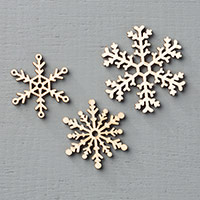 |  |  |
 |  |  |  |  |
 |  |  |  |  |
 |  |  |  |  |
Table built using Product Table Builder by The Crafty Owl - Independent Stampin' Up! Demonstrator.

- begin by making your card base by trimming a piece of Thicker A4 Cardstock to 21 cms x 14.8 ; Score the longer side at 10.5 cms using your Scoring Tool or the scoring blade on your Stampin Trimmer; Fold along the score line and run your bone folder along the fold to make it nice and crisp.
- Trim a piece of Garden Green Cardstock to 14,4 cms x 10.1 cms; Run this through your Big Shot on Tab1 using the Boughs & Berries TIEF.; Adhere to your card base using either a teeny amount of Tombow Liquid Glue, or a couple of strips of Fast Fuse Adhesive.
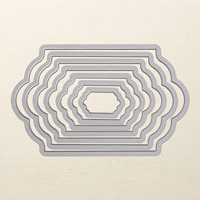
- Stamp the sentiment(s) of your choice onto a piece of Whisper White Cardstock, using the Archival Basic Blac Classic Ink Pad. Die Cut the sentiment using the best fitting Lots of Labels Die; Apply some Stampin Dimensionals (foam pads) to the back of the die cut.
- Die cut the next size up Lots of Labels Die using Chocolate Chip Cardstock; Apply Stampin Dimensionals to the back of the die cut.
- Layer up the two labels and adhere to the centre of your card front,
- Apply a stampin Dimensional to the back of one large and one small Snowflake Elements; Top each of these with a Metal Rimmed Pearl.
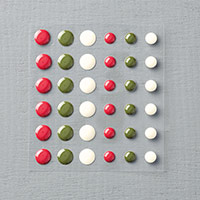
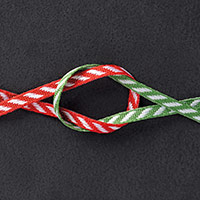
- Wrap some Silver Cording Trim round two fingers and attach to your card front using a couple of Glue Dots.Top this with a small bow using the Real Red Stripped Ribbon, and attach with a couple of Glue Dots.Add a couple of the Home For Christmas Enamelled Dots ... and Ta Dah!!

JOIN my Pinterest Community Board
Where you will be able to post your own
Stampin Up! Makes
Simply follow my
Community Pinterest Board
(See the left hand side
bar of this Blog)
And I will sent you
an invitation to start pinning
If you have any
questions on techniques, orders, products
OR
Joining my Team as an Independent Stampin
Up! Demonstrator
contact me via:-
Email me: kim@stampinupatthewarren.com
Text: 07759587004
Order Online 24/7
http://www.stampinup.net/esuite/home/stampinupatthewarren/
No comments:
Post a Comment