
Today I am sharing with you a card I made a while back, keeping it in reserves for a day when I needed something to hand ... and today was that day.
We are still reeling from the death of our beloved dog, Hamish, but I deal with things by crying my eyes out and slobbing abut for 2 days, and then I plow myself into my work!
So today I have designed and prepped 7 cards that I will be filming tomorrow, ready for uploading to youTube .... now it is highly unlikely I will be missing a post tomorrow, since on average, it takes up to 24 hours to upload a video ... the joys of rural life, with no fibre Optic Broadband lol.
But I will do my best to will the video upload by sheer mental concentration .... but you may have to expect that not to happen ... unless the weather is good, and then we might reach 1mg upload speed .... if we pray very very hard that is, and it doesn't rain, show, get too cold, or blustery wind ... any one of these slows things down .... But I would not change my life or where I live for anything!

To order any of todays supplies, click on the product icon to view or order them,
 |  |  |  |  |  |  |
 |  |  |  |  |  |  |
 |  |  |  |  |  |
Table built using Product Table Builder by The Crafty Owl - Independent Stampin' Up! Demonstrator.
TUTORIAL
- Trim a piece of Thicker Whisper White Cardstock to 14.8 cms x 21 cms; Score the long side at 10.5 cms - DO NOT FOLD THE CARD
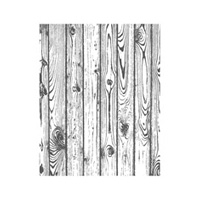
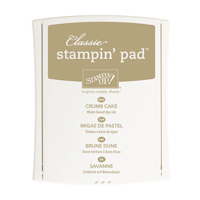
- Mask the left hand side of the card blank using Post It Notes, ink up the Hardwood Stamp with Crumb Cake Classic Ink Pad and stamp onto the right hand side of the Card Blank. Once Dry, fold the card and burnish with a Bone Folder
- Trim a piece of Crumb Cake Cardstock to 14.4 x 10.1 cms; Using the Crumb Cake Classic Ink Pad, stamp the hardwood onto the panel.. mount onto your Card Blank using Fast Fuse Adhesive; Then repeat this onto a sheet of A4 Crumb Cake as you are going to be making the door panels.
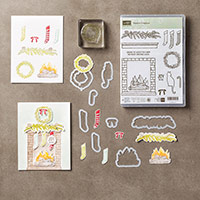
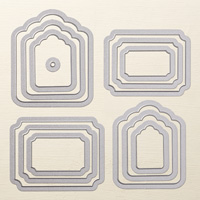
- you now need to create the panels for the door. Select the best fit of framelits for the door, with larger panels at the bottom compared to the top of the door. You will meed 2 sizes of framelit to layer up the panel to create a 3D effect. Use Stampin Dimensionals between each layer, and again to mount the panels onto your card front.
- Stamp the Wreath from the Bundle, onto Very Vanilla Cardstock using Mossy Meadow Classic Ink Pad.
- Stamp the bow using the Cherry Cobbler Classic Ink Pad. mount onto your door. Die cut both the bow and wreath & mount onto your door.
- Stamp the confer onto Mossy Meadow Cardstock, using the Mossy Meadow Classic Ink Pad for a Tone on Tone effect. Die cut using the framelits in the bundle & mount onto your Festive door
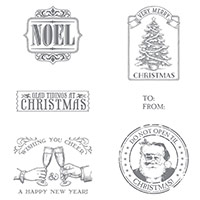
- Stamp the Christmas Sentiment from the Antique Tags Stamp Set onto Very Vanilla Cardstock, using the Early Espresso Classic Ink Pad; Punch out the Tag using the Washi Label Punch.
- Ad a looping bow of Silver Cording Trim, and you are all done!

Join my Pinterest community board,
where you can share your own Stampin Up Creations?
Follow the Pinterest Board on the left hand side
bar and I will send you an invitation to follow the Stampin Up! At The Warren
Community Pinterest Board
If you have any
questions on techniques or products, or Joining my Team/discussing the business
opportunities Stampin Up! Can offer
Contact Me
Or telephone/text
07759587004
Happy Stamping
Kim
xxx
Order your Craft
Supplies on line 24/7
If you have any
questions on techniques, orders, products
OR
Joining my Team as an Independent Stampin
Up! Demonstrator
contact me via:-
Email me: kim.tolton@googlemail.com
Text: 07759587004
Order Online 24/7
No comments:
Post a Comment