
I hope you have got your weekend off to a good start,
We are being kept busy, with lots of giggles as our new puppy, Bentley settles into our family
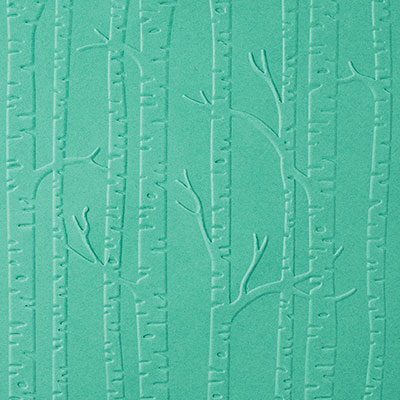
Today's card brings you a new way to use your Embossing Folders
This technique, uses the embossing folder as a stamp.
It does stain the embossing folder, so be prepared. I clean mine with Stampin Mist
I have seen various cards using this technique, but haven't seen any that sponge the the background before using the Embossing Folder as a stamp
Although I suspect I am not the first person to come up with this idea.
I made various prototypes of this card, some with sponging, and others without. I also used a sponge dauber to add colour to the trees, and other ideas, but this is the design I settled on as it just seemed to work as I wanted.
You can find the Woodland Textured Impressions Embossing Folder (TIEF) in the current Seasonal Autumn/Winter Stampin Up! Catalogue.
You can order the TIEF via my Demonstrator Website, or directly with me,
You will also find a list of products used today further down today's tutorial. just click on the product icons to view or order them in more detail,
You can also find all the ways of contacting me, or placing your order at the bottom of this blog post.

Click on the product icons below to view / order them
 |  |  |  |  |  |
 |  |  |  |  |  |
 | 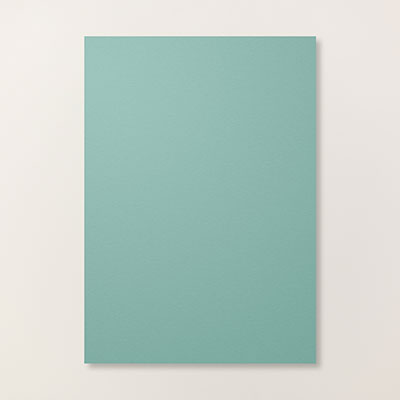 |  |  |  |  |
Table built using Product Table Builder by The Crafty Owl - Independent Stampin' Up! Demonstrator.

View the video below for full tutorial
- Trim a piece of Thicker Whisper White Cardstock to 6" x 6"; score the long side at 10.5 cms; fold & burnish; put the card base to one side
- Trim a piece of Whisper White Cardstock to 14.1 cms x 14.1 cms; sponge the sky section with a combination of Lost Lagoon and Blushing Bride Classic Ink Pads; Sponge the bottom section of the panel with Mossy Meadow Classic Ink Pad
- Ink up the Embossing Folder nearest the fold using the Mossy Meadow Classic Ink Pad. Going up about half way up the TIEF, and ensuring it is the side with the 'SIZZIX' logo
- With a piece of Kitchen Towel, gently remove some of the ink at the top end of the TIEF, to diffuse the edges of the inked sections
- Insert the sponged panel ensuring the green sponging is adjacent to the fold of the TIEF; Run through your Big Shot
- Allow the cardstock to gently fall from the embossing folder to avoid smudging.
- Mat onto a piece of Lost Lagoon Cardstock measuring 14.5 x 14.5 cms using Fast Fuse/Tombow Adhesive
- Using the Soft Suede Classic Ink Pad, stamp the Christmas label stamp from the Antique Tags Hostess Stamp Set, onto Whisper White Cardstock; Punch out using the Washi Label Punch
- Apply a couple of Stampin Dimensionals to the back of the label, and mount onto your card front.
- Mount your card front onto your card base using Fast Fuse / Tombow Adhesive
- Finish by applying a Stampin Dimensional to a large Snowflake Element and mount onto the card front so it overlaps the sentiment; Top with a large Metal Rimmed Pearl.
Now it is your turn .... and please share what you make on one of my social media accounts (see below); For now ... Keep on Stamping
Kim
xoxoxo

Stamping At The Warren
Kim Tolton
Independent Stampin Up! Demonstrator (UK)
Card & Paper Craft Classes & How To Tutorials
JOIN my Pinterest Community Board
Where you will be able to post your own
Stampin Up! Makes
Simply follow my
Community Pinterest Board
And I will sent you
an invitation to start pinning
If you have any
questions on techniques, orders, products
OR
Joining my Team as an Independent Stampin
Up! Demonstrator
contact me via:-
Email me: kim.tolton@googlemail.com
Text: 07759587004
Order Online 24/7
Stamping @ The Warren Craft Forum:
Pinterest:
Google +
Facebook:
Twitter:
Instagram:
@kim.tolton
LinkedIn:
No comments:
Post a Comment