
Do you all have your Christmas Jumpers Ready?
We do, we even have matching sock slippers he he & I will even take a photo of my and my hubby wearing them .... just to show you our cheeky side and festive spirit
Anyhow, I need to apologise for the quality of today's video, I didn't realise the the tripod had slid down, so you have a rather more Macro view of the project, meaning some of the demonstration is out of visual shot (doh!); and then I whacked the microphone causing audio distortion to the end of the demonstration
In my defense, I have had another bout of cluster migraines this week and that makes me clumsy and my thought processes slow down.
Thankfully I am prescribed magic sub-lingual wafers, but they only resolve the intense pain, they do not impact on the visual disturbances, nausea etc that comes with a migraine.
I used to have to take to my bed in complete darkness and silence for the day, and then one day I collapsed at work, with bradicardia (very slow pulse rate) which worried the eebe gee bees out of my family. A Gambit of investigations and a consultation with a neurologist, and was told the migraine was the problem! Since then I have had the wafers.
The only reason for sharing that information, is so you all understand why some days I seem a bit off .... and the chances are likely to be migraine related (up to 10 in any given month
Now back to today's tutorial
And we are talking Berry Baskets, Gift Ideas such as these little Cupcake Bath Bombs
They were a real fab find in our local garden centre, just a stones throw away from us.
The moment I saw them, I knew the Berry Basket was the answer
Make sure you scroll down all of today's post, as there is both a video and typed tutorial
Plus icons of all the products used today; click on the icons to view the item in my Demonstrator Website

Click on the items to view or order them via my online store


Watch the Video Below for the full tutorial
Tutorial:
- Die cut 2 pieces of Elegant Eggplant Cardstock using the Berry Basket Bigz Die (use extension plates if you have them)remove the 2 basket bases, 2 handles & 2 scallop trims from the die cut cardstock
- Fold and burnish (with your bone folder) all score lines on each piece
- Apply a little Tombow to the base of one of the Berry Basket Die Cuts and stick down the other Berry Basket piece to make a cross shape
- attach the scallop trim together using a little tombow on the 2 end pieces to make a square
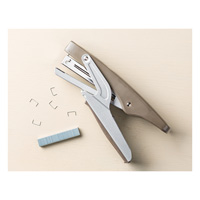
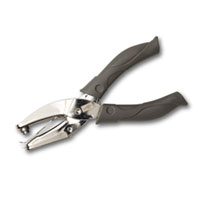
- Using the Handheld Stapler, staple the scallop trim to the top of the folded up berry basket; then staple the centre of each side
- Using a little Tombow, attach a handle across the centre of the box - this is your basic box
- Cut two Tea Lace Doilies in half and add a little tombow glue to the solid section of each half doily and fix around the inside top of the Berry Basket
- Scrunch up some Tissue Paper and pop in the base of the box and place your gift inside the box
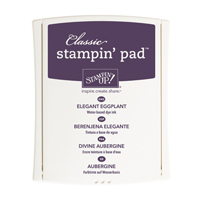
- Stamp the HoHoHo sentiment from the Versatile Christmas Stamp Set using Elegant Eggplant Classic Ink Pad, onto a scrap of Shimmery White cardstock
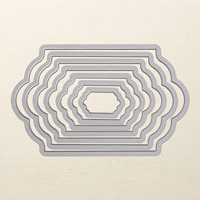
- Die cut the sentiment using the Lots of Labels Framelits Dies
- Die cut the next size up label using Elegant Eggplant Cardstock
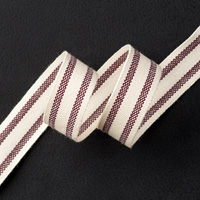
- Tie a bow around the handle using some Blackberry Stripped Ribbon
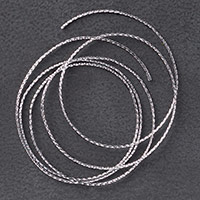
- Using the 1/8" Handheld Punch to punch a hole in the top of the Elegant Eggplant label; thread with Silver Cording Trim & tie up and around the Blackberry Bliss Ribbon

How to contact me:
Kim Tolton, Independent Stampin Up Demonstrator.
Card & Papercraft Tutorials
Please feel free to comment below, and ask away with any questions. You can also find me via the links below
Blog:
Online Store:
Stamping @ The Warren Craft Forum:
Email:
Pinterest:
Google +
Facebook:
Twittert:
Instagram:
@kim.tolton
LinkedIn:

No comments:
Post a Comment