
No Video today as the high winds overnight has caused out internet to slow right down, so the videos I shot yesterday are still uploading from my PC (the upload began at at 6 pm last night!) and only half of one video has uploaded so far.
However, I am uploading a Gift Bag Tutorial using the GBPB using the Winter Wonderland DSP pack, that will be published next week.
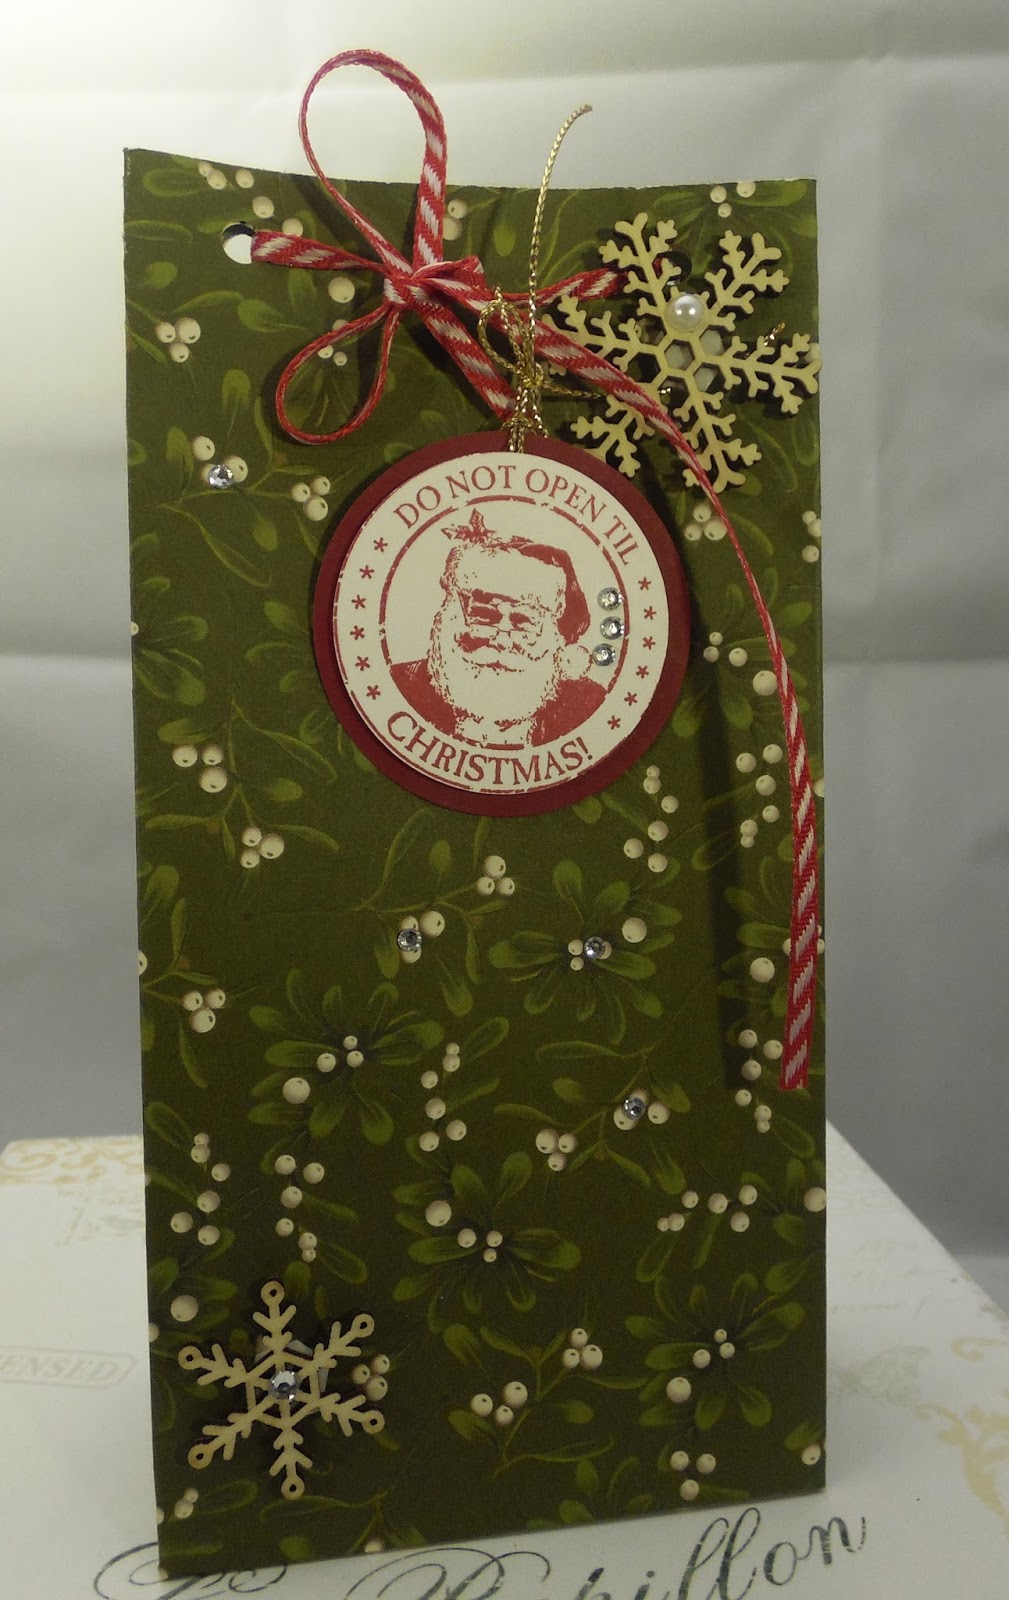
Back to today, & I am sharing with you a Gift Bag, made using the Gift Bag Punch Board, and the Antique Tags Hostess Stamp Set
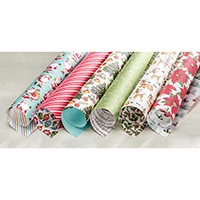
The Home For Christmas Designer Series Papers are just so Retro/Vintage in style and makes me reminisce on Chris masses Past when I was growing up in the 60's & 70's!
The Gift Bag Punch board (GBPB) allows you to make your own Gift Bags from either cardstock, Vellum or Decorative Papers (Designer Series Papers (DSP)
The GBPB comes with full instructions, but play around with it, and you have the scope to make wide and short gift bags, or long and thin etc ... Just select the size of your cardstock and and start scoring and punching
The board comes with a built in punch that allows you to punch out ribbon holes when making your bag.
Below you will find icons of all the products I used today, just click on the icons to view or order them via my Demonstrator Website
 |  |  |  |  |  |  |  |
 |  |  |  |  |  |  |  |
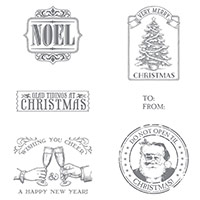 |  |  |  |  |  |
Table built using Product Table Builder by The Crafty Owl - Independent Stampin' Up! Demonstrator.

- Trim your Designer Series Paper to 10" cms x 11"
- Follow the Large guide on the punch board, scoring and punching as you go
- Fold & burnish all score lines
- Run some Fast Fuse Adhesive along the long flap and adhere to the opposite edge of the DSP
- Add some Fast Fuse Adhesive to the base flap and adhere on top of the other base flap
- If you are putting something a little heavy inside the bag, it would be a good idea to trim 2 pieces of cardstock the same size as the base and attach one inside the bag, and the other on the outside bag
- concertina the bag sides together and punch the 2 holes onto the top of the bag using the integral punch
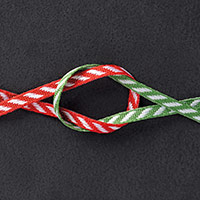
- Thread through some Real Red Striped Ribbon
- Stamp your tag onto Very Vanilla Cardstock using Cherry Cobbler Ink, Punch it out using the 2" Circle Punch.
- Mat that onto Cherry Cobbler Cardstock using the 2 1/2" Circle punch
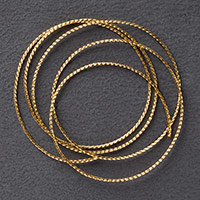
- Punch a hole in the tag, and thread with Gold Cording Trim, attach to the ribbon
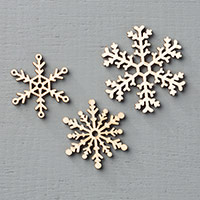
- Add a couple of Snowflake Elements, Basic Rhinestones and a Metal Rimmed Pearl

Stamping At The Warren
Kim Tolton
Independent Stampin Up! Demonstrator (UK)
Card & Paper Craft Classes & How To Tutorials
JOIN my Pinterest Community Board
Where you will be able to post your own
Stampin Up! Makes
Simply follow my
Community Pinterest Board
And I will sent you
an invitation to start pinning
If you have any
questions on techniques, orders, products
OR
Joining my Team as an Independent Stampin
Up! Demonstrator
contact me via:-
Email me: kim.tolton@googlemail.com
Text: 07759587004
Order Online 24/7
Stamping @ The Warren Craft Forum:
Pinterest:
Google +
Facebook:
Twitter:
Instagram:
@kim.tolton
LinkedIn:
No comments:
Post a Comment