Today I am giving you a taster of what is to come next week
Christmas is coming upon us fast. My hubby got all the decorations & Tree up yesterday, and is busy ordering out cheeky Christmas jumpers as we speak (we get a new one each year)
Anyhow, from next week, it is all going to be about Gift Packaging, Box Making and Gift Tags
You can order your Christmas craft supplies direct from my website by clicking on the product icons below. If you live outside the UK, the links will take you to Stampin Up! site for your area,
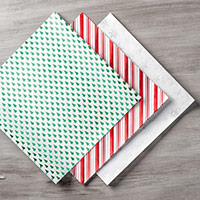
Today though, I have a Mini Treat Bag for you, using the Holidays Fancy Foil Designer Vellum
Plus a Punched and die cut Gift Tag, held together with a wooden Clothespin.
Below you will find the product icons for the items I used to create today's Festive Treat Bag
Click on the icons to view or order them via my online store
WATCH THE VIDEO BELOW
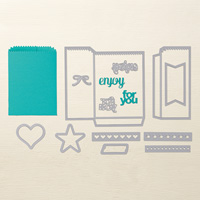
- Chose the Foiled Vellum you would like to use from the Holidays Fancy Foil Designer Vellum Pack and trim roughly to the size f the Treat Bag Thinlits Dies (you will need one wide and one narrow for the standard sized bags)
- Run through your Big Shot, ensuring your have the right sides of the vellum, face down onto your vellum before running though your Big Shot ... use the Magnetic Platform for best results
- Fold and burnish all crease line using a bone folder
- Run a strip of Tape & Tear Adhesive down the tab on each piece & adhere the 2 pieces together
- fold up the bottom Flap and adhere with Tape & Tear
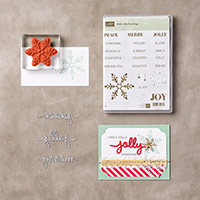
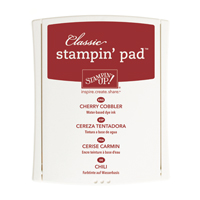
- Now for the Tag - Stamp the large snowflake from the Holly Jolly Greetings Stamp Set onto a piece of Real Red Cardstock, using Cherry Cobbler classic Ink Pad
- Punch out the snowflake using the 21/2" Circle Punch.
- punch a hole in the top of the tag using the 1/16" handheld punch
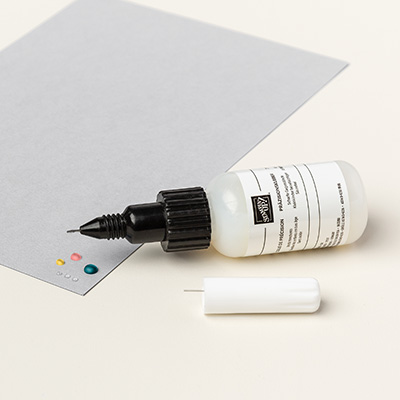
- Die cut your sentiment from the Christmas Greetings Thinlits Dies and Whisper White Cardstock; mount onto your tag using the Fine Tip Glue Pen
- Stamp your Christmas Sentiment from the Holly Jolly Greetings Stamp Set & cut out using your Paper Snips, creating banner ends. use cut down Stampin Dimensionals to the back and adhere to the tag.
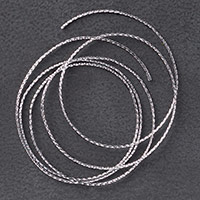
- Thread through some Silver Cording Trim and attach to the treat bag using a Clothespin or paper clip
Kim Tolton, Independent Stampin Up
Demonstrator.
Card & Papercraft Tutorials
Please feel free to comment below,
and ask away with any questions. You can also find me via the links below
Blog:
Online Store:
Stamping @ The Warren
Craft Forum:
Email:
Pinterest:
Google +
Facebook:
Twittert:
Instagram:
@kim.tolton
LinkedIn:











No comments:
Post a Comment