Welcome to a Fabulous Friday
Today is a super Quick card that I CASED )copy & Share Everything) from the new Annual Catalogue from Stampin' Up!
I have changed it up, as I use the creative ideas within the catalogue (of which there are just SO many), for those days when time is short, or I simply do not have a creative idea in my head for a particular stamp set)
I then make the card my own, by changing it up, so it is not a complete replica of the original. And that means you guys get two creative ideas for the price of one.
You can find the original Build A Birthday design on Page 25 of the catalogue.
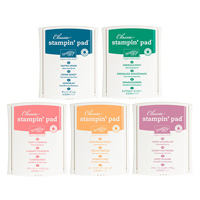
I have used the new In Colours for today's project and I also wanted to show you a different way of creating a banner sentiment.
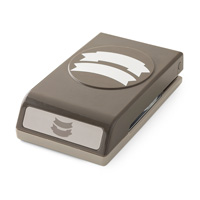
The Duet Banner Punch, which is curves, as you can see in the photo.
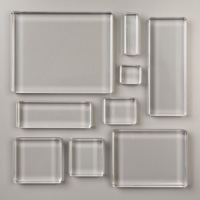
Now here's the thing, Photo-polymer stamps are flexible; and that means you can shape them when mounting them onto an acrylic block .... it is one of those thinking outside the box moments that tends to fly out of our heads, because we see a straight sentiment and just assume it has to be stamped as a straight sentiment.
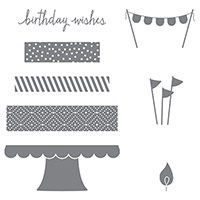
With the sentiment I used today (included in the Build A Birthday). I mounted the stamp in a curve, to match the curve of the Banner Duet Punch. And it worked a dream!!
Have a go for yourselves, and let me know how you get on.
Feel free to CASE any of my creative projects (Copy & Paste Everything)
Click on the icons below to view/order any of the products used in today's tutorial
Table built using Product Table Builder by The Crafty Owl - Independent Stampin' Up! Demonstrator.
Tutorial
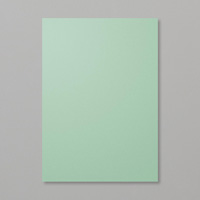
- Trim a piece f Mint Macaron Cardstock to 25 x 12.5 cms; score at 12.5 cms; fold & Burnish
- Randomly Stamp the cardstock with the large flame stamp from Build A Birthday stamp set, using Mint Macaron Ink.
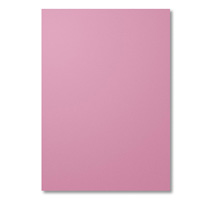
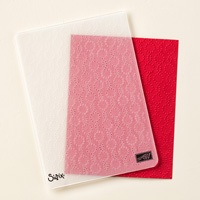
- Trim a piece of Sweet Sugarplum Cardstock to 10 x 10 cms; Dry Emboss using the Elegant Dots Textured Impressions Embossing Folder (TIEF) and mat onto the card front using Fast Fuse.
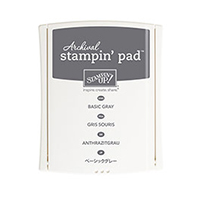
- Trim a piece of Whisper White Cardstock to 7.5 x 7.5 cms; stamp the Cake stand at the bottom of the cardstock using Archival Gray Ink Pad
- Now for your cake layers - Bottom layer uses Sweet Sugarplum Ink Pad; Middle Layers is Flirty Flamingo Ink Pad, and the tip layer is Peekaboo Peach ink pad.
- Mount your Birthday Wishes sentiment onto an acrylic block in a curved shape;Using Archival Black Ink Pad, stamp the sentiment onto a scrap of Whisper white Cardstock,
- Punch out the sentiment using the Banner Duet Punch & mount onto the card from using Stampin Dimensional's for added lift.
If you would like a free copy of the new Annual Catalogue, please CONTACT ME with your name & Address (UK only) and I will get a copy out to you.
How to Contact or Follow Me
Kim Tolton, Independent Stampin Up Demonstrator.
Card & Papercraft Tutorials
Please feel free to comment below, and ask away with any questions. You can also find me via the links below
Blog:
Online Store:
Stamping @ The Warren Craft Forum:
Email:
kim.tolton@googlemail.com
youTube
Pinterest:
Google +
Facebook:
Twitter:
Instagram:
@kim.tolton
LinkedIn:









No comments:
Post a Comment